


Table of Contents
- What Is the Lasso Tool in Photoshop?
- What Does the Lasso Tool Do?
- When Should You Use the Lasso Tool in Photoshop
- How to Use the Lasso Tool (Tools) in Photoshop?
- Save Time and Let PhotoUp Edit Your Real Estate Photos!
Do you want to learn how to use the Lasso Tool in Photoshop?
The powerful, yet straightforward Lasso Tool allows for precise selections of areas within an image, making it essential for tasks such as removing backgrounds, isolating complex objects, or even fixing imperfections.
In this guide, we’ll walk you through everything you need to know about the Lasso Tool/s—from what it is and what it does to how and when to use it effectively.
Let’s get started!
What Is the Lasso Tool in Photoshop?
If you’re a real estate photographer or a Photoshop enthusiast, you’ll know that editing and enhancing images can be time-consuming.
The Lasso Tool—a powerful feature in Photoshop can significantly streamline your photo editing process.
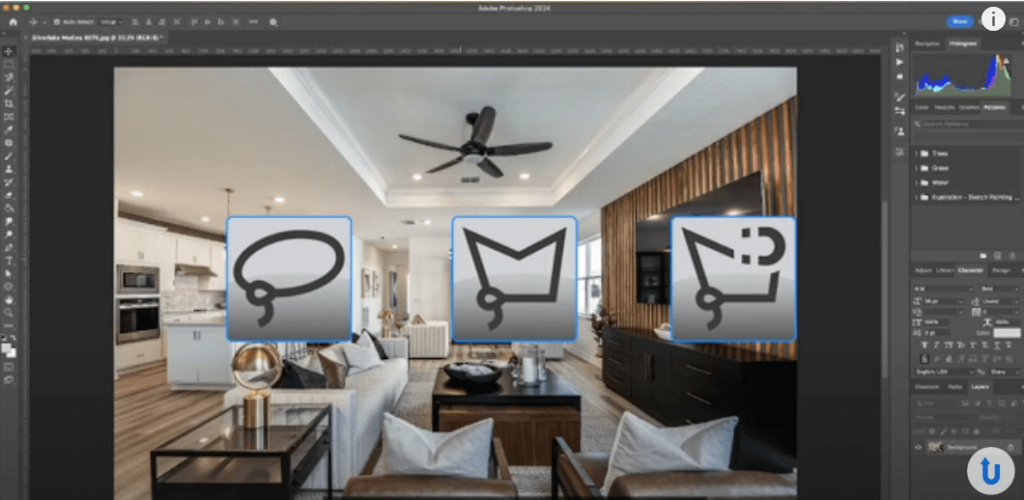
The Lasso Tool is a selection tool that allows users to draw freeform or polygonal selections around parts of an image. It comes in three different versions:
- Lasso Tool: Draws a freehand outline around your selection per your cursor’s movement
- Magnetic Lasso Tool: Draws straight lines between points you select at the corners of your object
- Polygonal Lasso Tool: Draws an outline around your selection per your clicks, sensing the object’s edges
With these tools, you can isolate specific areas for editing, making it versatile for various tasks, from basic object removal to intricate image manipulations.
Let’s take a look at what the Lasso Tool does.
What Does the Lasso Tool Do?
The Lasso Tool is all about precision. Here’s what you can achieve with it:
- Select specific areas – draw around an object to isolate it for further editing
- Refine edges – perfect for detailed work where you need more control over the selection
- Remove backgrounds – easily cut out subjects from their backgrounds
- Create masks – use the selection to generate masks for non-destructive editing
- Fix imperfections – select and delete or replace unwanted elements in your photos
With these uses in mind, let’s move on to when to use the Lasso Tool in Photoshop.
When Should You Use the Lasso Tool in Photoshop
Knowing when to use the Lasso Tool can make your editing workflow much more efficient. Here are some scenarios where this tool shines:
- Isolating complex objects – when you need to select irregularly shaped objects, the Lasso Tool provides the precision required
- Quick edits – if you need to make rapid adjustments to a specific area
- Detailed compositions – for advanced edits where fine-tuning the selection is crucial
- Editing real estate photos – great for isolating parts of an image to adjust lighting, correct colors, or remove unwanted items
As you can see, the Lasso Tool is a must-have tool for more detailed and precise editing where you need to select specific parts of an image.
How to Use the Lasso Tool (Tools) in Photoshop?
Now, let’s walk through the steps of how to use the Lasso Tool/s in Photoshop effectively. You can either watch the video tutorial or continue reading the text below:
To begin, Adobe Photoshop offers three Lasso Tools; the Lasso Tool, the Polygonal Lasso Tool, and the Magnetic Lasso Tool. Each tool has its unique functionality for making free-form selections.
Selecting the Lasso Tool
Step 1. First, start by opening the image you wish to work on in Photoshop.
Next, let’s understand the three types of Lasso Tools.
Step 2. The Lasso Tools are located in the Toolbar identifiable by an icon resembling a Lasso. Right-click on the Lasso Tool icon to reveal the drop-down menu with all three Lasso Tools:
- Lasso Tool (Freeform Lasso): Draws freehand selections
- Polygonal Lasso Tool: Creates straight-edged segments of a selection
- Magnetic Lasso Tool: Clings to the edges of defined areas in your image
Making a Selection
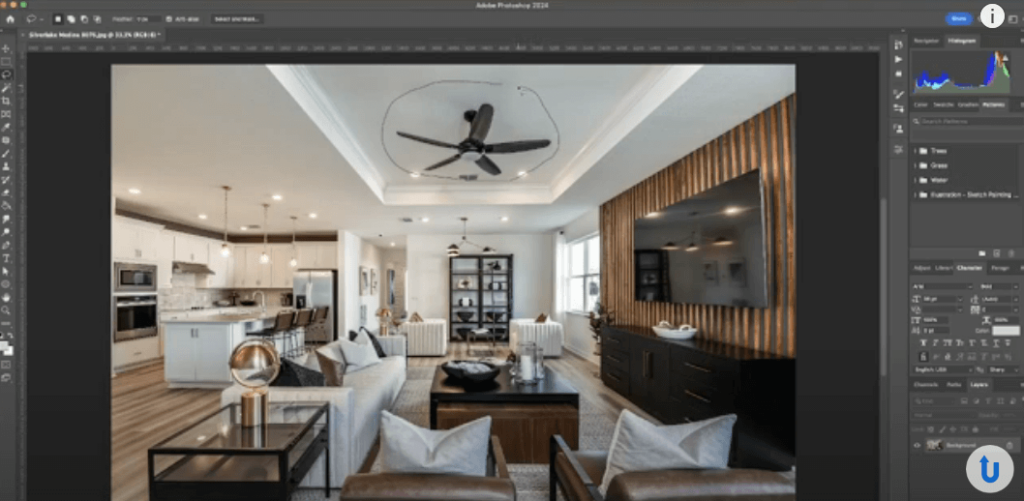
Step 3. The Standard Lasso Tool allows for freehand selections. Simply, click, hold, and drag around the area you want to select. Release the mouse button to complete the selection.
Step 4. The Polygonal Lasso Tool is ideal for straight-edge selections. Click to create the start point and move to the next point. Continue clicking to define the selection border and double-click to complete the selection.
Step 5. Lastly, the Magnetic Lasso Tool is useful for outlining areas of high contrast. Click on the edge of the area you want to select and slowly trace its outline. The tool automatically clings to the edges it detects.
Click to add anchor points for accuracy if needed. Close the selection by either coming back to the starting point or double-clicking.
Refine Your Selection
Step 6. For each tool, you can adjust settings like feathering in the Options bar to refine your selection. Once you’ve made a selection, you can cut, copy, fill, or apply adjustments to it.
Step 7. To deselect, go to Select >Deselect or press Ctrl + D for Windows or Command D for Mac.
Switching Between Lasso Tools
Step 8. If you want to switch between the three lasso tools, just hold down the Shift key on your keyboard and press L.
This will allow you to cycle through the lasso tools enabling you to switch between them quickly.
And that’s it! You’ve now learned how to use all three Lasso Tools in Photoshop!
Save Time and Let PhotoUp Edit Your Real Estate Photos!


Using the Lasso Tool in Photoshop can save you time and effort, but sometimes you need that extra touch of expertise.
That’s where PhotoUp comes in!
Our professional real estate photo editing services are designed to help photographers like you. From enhancing images to complex edits, we’ve got you covered.
We can help you with, for example:
- Image brightness and exposure correction
- Color and tone adjustments
- Window masking and glare reduction
- Clutter and advanced object removal
- Line and angle corrections
- HDR editing and manual blending
- Harsh shadows and lack of light
- Sky replacements
- Twilight and day-to-dusk editing, etc.
Our team of expert photo editors can handle any project, big or small or complex.
Browse Top Dedicated
Real Estate Photo Editors
Ready-to-hire editors for real estate photo editing, and more.
And there’s more…
A One-Stop Shop for Real Estate Marketing
Additionally, PhotoUp is a one-stop shop for real estate marketing and also offers additional services such as:
- Virtual house tours
- Video editing
- Virtual staging
- Single property websites
- Custom websites
- Floor plans
- Property flyers
- House portraits
- Virtual Assistants
- And more!

With over a decade in the business and hundreds of editors, it’s hard to beat PhotoUp’s quality, service, and pricing.
How to Get Started
Getting started is super simple.
All you need to do is sign up for a free PhotoUp account and upload your images.
In our easy-to-use software, you can also provide us with instructions and feedback, choose your preferred turnaround time, request revisions, and lastly, download your beautifully edited images!
PhotoUp Real Estate Photo Editing Uploader
To see how easy it is to get started, check out our real estate photo editing uploader demo:
It’s really that easy!
Ready to elevate your real estate photography? Sign-up for a free PhotoUp account and see how we can transform your images!
And as a bonus, you get 10 free credits you can use on any of our services when you sign up for an account.
We hope this blog post helped you learn how to use the Lasso Tool in Photoshop. Before you go, you may also want to check out some related resources:

