Table of Contents
- What Is a Gimbal?
- What to Think of When Buying a Gimbal for Video Recording
- 7 Tricks to Record Top-Quality Videos With a Gimbal
- Gimbal Use for Real Estate Walk Through Videos
- Easy Real Estate Walk Through Video Creation With PhotoUp
Do you want to know how to use a gimbal to record top-quality videos?
Gimbal technology has revolutionized the way we shoot videos. Whether it’s for professional or personal use, you want your videos to be of the best quality possible. Shooting high-quality videos means that you need a gimbal and know how to use it correctly.
In this blog post, we’ll be going over the basics of how to use a gimbal, plus share some useful tips and tricks to record and edit top-quality videos.
Let’s first take a look at what a gimbal is and what to think of when buying one.
What Is a Gimbal?

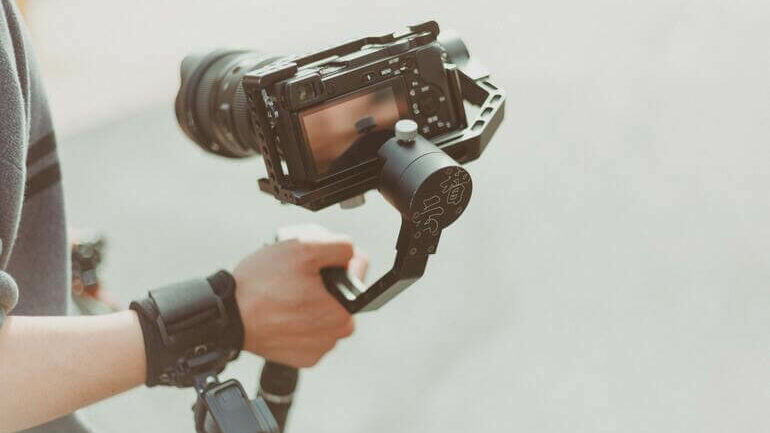
A gimbal is a device that’s used to stabilize your camera when you are shooting a video.
Essentially, a gimbal is a tool that enables a mounted object (such as a camera) to tilt and rotate in any direction while maintaining a level and steady orientation.
This means that even if the mounted object changes angles or movements, it’ll still produce a stable and smooth image or video.
Gimbals are commonly used in drone photography, handheld camera work like real estate photography, and even in video game controllers for virtual reality experiences.
Overall, they’re an integral part of modern-day filmmaking and videography and have revolutionized how we capture and tell stories through visuals.
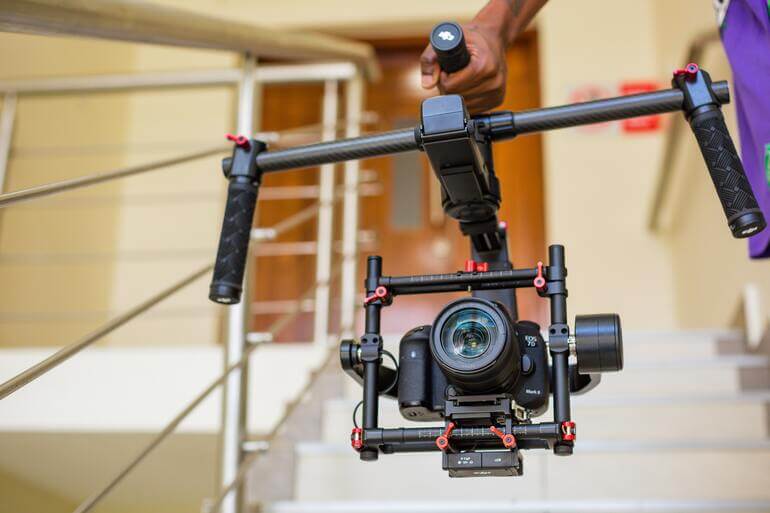
Lastly, gimbals come in different sizes, weights, and shapes. Some of the gimbals are handheld while others are mounted on a tripod.
What to Think of When Buying a Gimbal for Video Recording

When buying a gimbal, it’s important to ensure that the weight payload is suitable for your camera and any accessories you may use in the future.
If the weight exceeds the gimbal’s capacity, the motors will have a hard time keeping up and the footage you record will be shaky and unstable.
The reason behind this is the motors will be overworked, and won’t be able to maintain balance which is essential for top-quality footage.
Make sure to double-check the weight capacity before making a purchase and avoid any unwanted frustration while recording.
The Ultimate All-in-One
Real Estate Photographer Business Platform
Grow a successful real estate photography business with PhotoUp.
7 Tricks to Record Top-Quality Videos With a Gimbal

Before you start using a gimbal, you need to balance it. And to balance the gimbal, you need to attach your camera and then twist the different knobs until it is balanced.
In general, you should aim to have the three axes level so that there is no wobbling when you move your camera.
That said, let’s take a look at 7 useful tips and tricks on how to use your gimbal for video recording.
1. Plan Your Shots
While unboxing a gimbal can be an exciting experience, it’s important to take the time to plan out your shots.
Doing so will ensure that you capture all of the important moments without getting lost in the excitement.
2. Set the Sensitivity Settings to Low
When you’re starting out with the gimbal, it’s best to set the sensitivity settings on low.
This will prevent the gimbal from reacting too quickly and creating jittery footage.
3. Keep the Gimbal Close to Your Body
To make your filming experience smoother and more comfortable, it’s best to keep the gimbal close to your body.
Doing that will reduce strain on your back and give you greater control over camera movement.
4. Move at a Slow Pace
When filming, it’s important to move at a slower pace. Quick, jerky movements can make it difficult to keep your subject in the frame and track their movements.
5. Use Your Upper Body to Turn the Gimbal
To get smooth, natural-feeling footage, use your upper body to turn the gimbal rather than relying on your arm or wrist.
6. Walk Backwards With Bent Knees
An old filmmaking trick that still holds up today is walking backwards with bent knees.
This technique allows you to control the speed of your subject, step lighter, and always keep them in the frame.
7. Get Close to the Subject
One of the great benefits of using a gimbal for filming is that it allows you to get up close and personal with your subject without sacrificing the stability of your shot.
Additionally, consider shooting from a low angle, against a wall, or even with your subject for a unique and visually striking orbital shot.
Lastly, it can be a good idea to use a tripod to stabilize the gimbal as you shoot since it can be quite heavy.
Gimbal Use for Real Estate Walk Through Videos

73% of homeowners say they are more likely to list with a real estate agent who uses video and 403% more inquiries are driven from listings with video.
If you’re not using video in your real estate marketing, you’ll be left behind, and a gimbal will make your video recording a lot easier!
It goes without saying that one of the most prominent trends in capturing real estate through video production is the utilization of handheld gimbals.
Unlike older models, electronic gimbal stabilization advancements have allowed for a smooth, steady shot and mass production is driving prices down, making these gimbals more affordable than ever.
With market demand on the rise, new features and specifications are constantly being developed, setting the standard for a higher level of excellence in real estate videography.
Overall, using a professional-grade gimbal like the MOZA Air Gimbal can help you take your real estate videos to the next level.

With smoother footage and sharper images, potential buyers will be able to get a better sense of what the property has to offer.
However, a gimbal in itself won’t create top-quality real estate walk through videos, but in combination with a slider, drone, and professional video editing, it’s a great additional tool to your toolbox.
Get Your Time Back
Real Estate Video Editing
If you thought photo editing took time... we're here to help.
Easy Real Estate Walk Through Video Creation With PhotoUp
Using a gimbal to record videos is rather easy, and following the simple tips and tricks in this article will help you shoot good-quality videos.
However, making the fine-tuning and final video edits can be a challenging and time-consuming task.
That’s where PhotoUp comes in to do the heavy lifting for you!
For around just $30, PhotoUp can transform raw footage into a polished and persuasive real estate walk-through video.
PhotoUp’s expert video editing includes:
- Clip review, trimming, and arrangement
- Your business logo, an intro, and outro
- Custom titling
- And, commercially licensed music for a more enjoyable, finished video
You’ll get a high-quality, professional real estate video in 2 simple steps:
1. Upload – Upload all your raw footage, logos, and/or custom audio files to Dropbox, Google Drive, or another delivery link, and include that link in your order form.
2. Delivery – We usually deliver your edited video within 24-36 hours, if uploaded on weekdays and before 9:00 PM on a Friday, local time.
Your final video will be between 2-3 minutes in length, delivered in 1080p quality (+10 credits for 4K quality), and available via Dropbox.
Your One-Stop-Shop for Real Estate Marketing

But that’s not all! PhotoUp does more than edit video…
We also offer other real estate marketing services such as:
- Real estate photo editing
- Virtual staging
- Virtual house tours
- Single property websites
- Real estate photographer websites
- Property flyers
- Floor plans
- Virtual Assistants
- House portraits
- And more.
We have everything you need to market real estate in one easy-to-use platform.
So, start working with PhotoUp today!
Sign up for a free PhotoUp account now, and let our affordable experts help you create fantastic real estate walk through videos or other visual marketing material.
And the best part? You get 10 free credits you can apply to any of our services when you sign up for an account!
We hope this blog post helped you learn how to use a gimbal to record top-quality videos. Before you go, you may also want to check out the following resources:


