Table of Contents
- Why Use Virtual Staging?
- 5 Actionable Tips to Take Virtual Staging Photos
- Use the Best Virtual Staging Provider, PhotoUp!
Do you want to know how to take great, high-quality virtual staging photos?
Virtual staging can help sell a home by making it more attractive to potential buyers. By adding virtual furniture and decor to property photos, a virtual stager can make a home look more lived-in and inviting.
In this post, we’ll share how to take high-quality virtual staging photos to make the virtual staging process quicker and easier. This process will also ensure the best results and the most captivating virtually staged images.
Why Use Virtual Staging?


Virtual staging is a technique used to enhance the visual appeal of a property listing by adding digital furniture and decor to empty or sparsely furnished rooms.
This can be especially helpful when trying to sell or rent a property that is currently unoccupied or has been staged poorly.
Virtual staging can also be used to redecorate outdated interiors, declutter and depersonalize messy homes, and perform virtual renovations of unfinished construction or landscaping.
While virtual staging can do wonders for a listing, it’s important to have high-quality photos to work with, which we’ll share how to ensure next.
5 Actionable Tips to Take Virtual Staging Photos
Here are 5 tips for taking photos that are suitable for virtual staging.
1. Use a High-Resolution Camera

The better the quality of the original photo, the more realistic the virtual staging will look. A DSLR (digital single-lens reflex) or mirrorless camera with a high megapixel count will give you the best results.
Some examples of DSLR cameras are:
These are just a few examples of the many different DSLR cameras that are available on the market. When shopping for a DSLR, it’s important to consider your budget, level of experience, and the specific features that you need.
Some other things to consider when choosing a DSLR include the type of sensor (APS-C or full-frame), the megapixel count, the ISO range, and the availability of lenses.
2. Use Natural Light
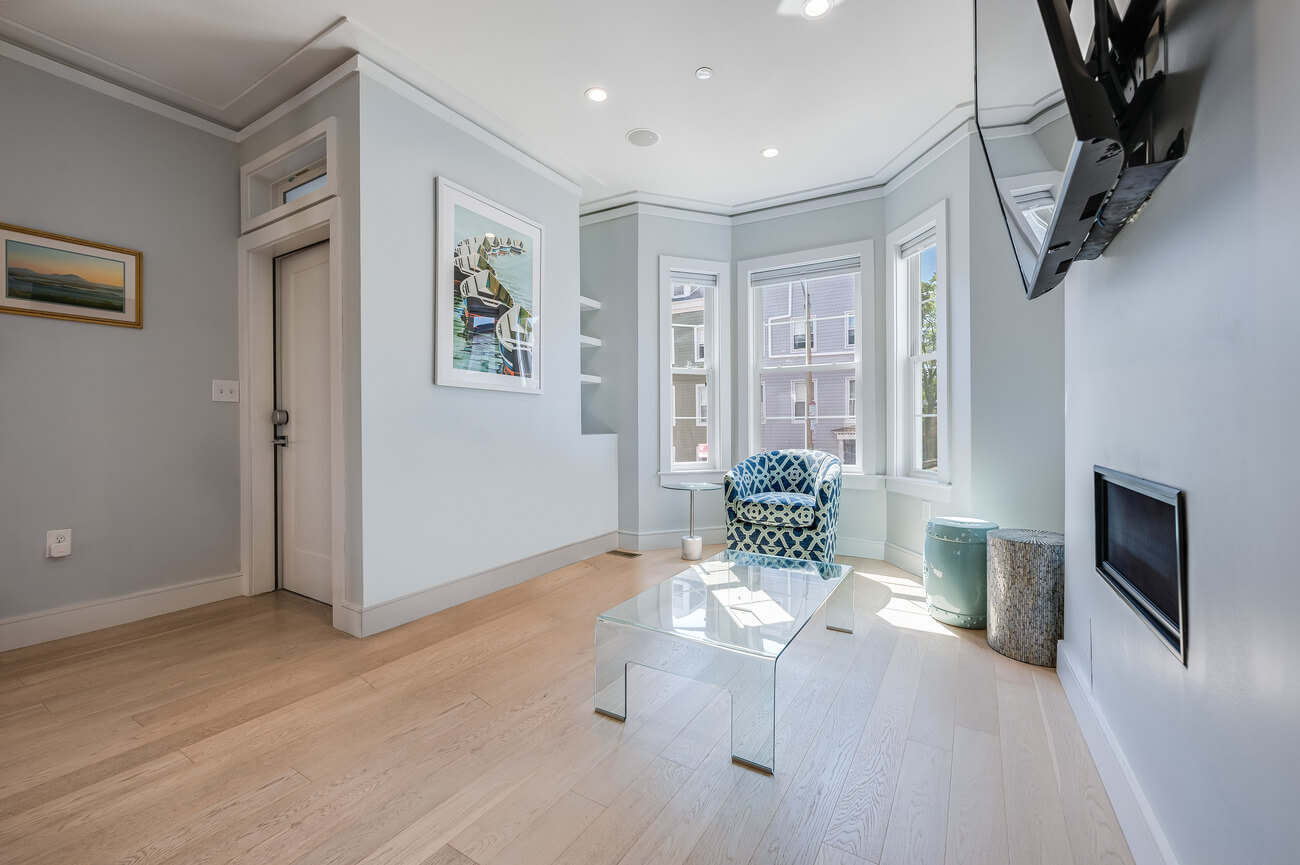
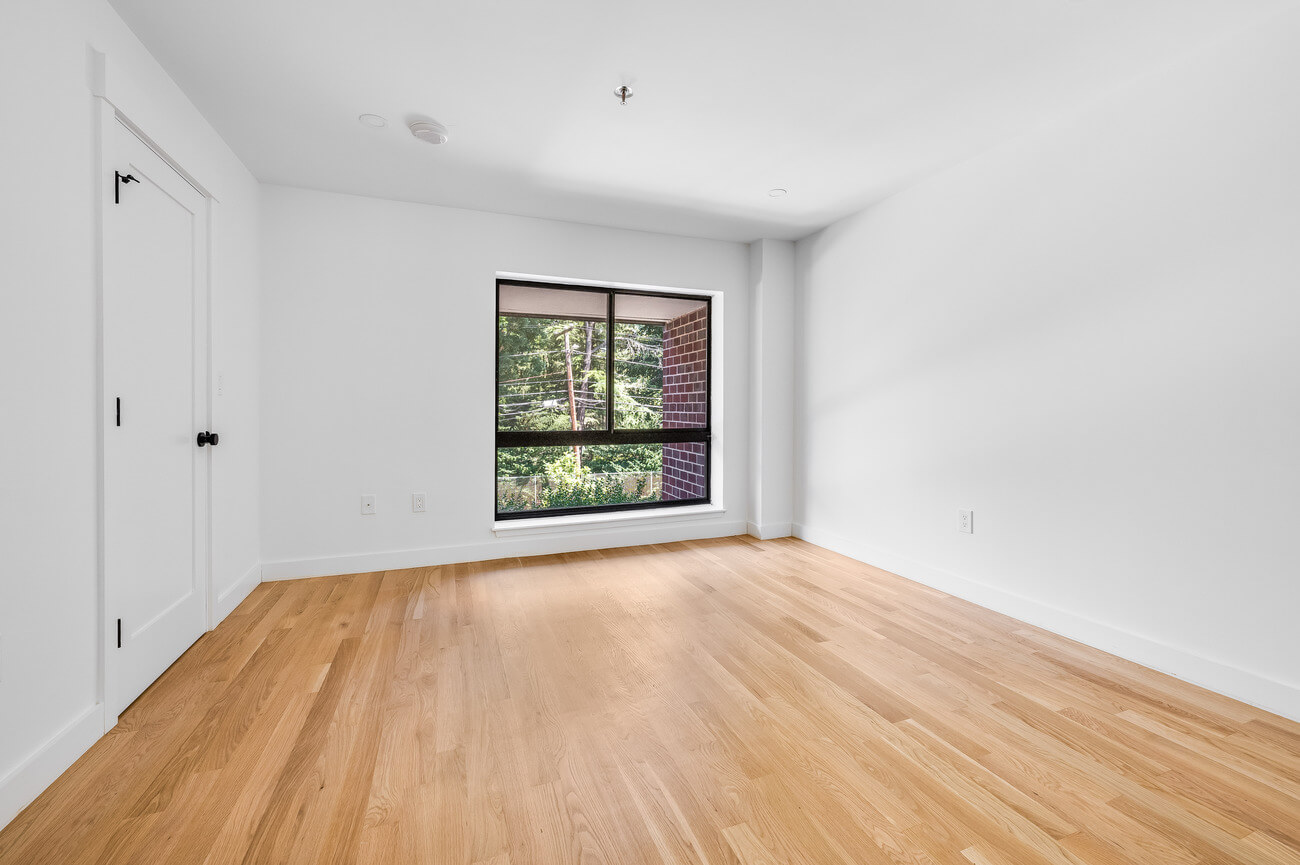
Avoid using flash when taking photos for virtual staging. On the other hand, natural light gives a more natural look and feel to the room and can help to highlight features such as windows, skylights, and architectural details.
Using natural light for virtual staging photos has several benefits:
- Natural light creates a more inviting and warm atmosphere in the photos, making the space look more appealing
- It can help to highlight the architectural details and features of a property, such as windows, skylights, and doorways
- Using natural light can help to eliminate shadows and other harsh lighting effects that can be created by artificial light sources
- Lastly, natural light can help to create a sense of depth and dimension in the image


Overall, using natural light can help to create more attractive and realistic photos of empty rooms and spaces, making the virtual staging look better and more photo-realistic.
Fast & Affordable
Virtual Staging Service
Interiors. Landscapes. Commercial. Virtually transform any space.
3. Avoid Wide-Angle Lenses
While wide-angle lenses can be great for capturing a room’s layout, they can also distort the proportions of the room, making it difficult to accurately stage the space.

Stick with a lens that has a moderate wide-angle or standard focal length of around 50mm on a full-frame camera. These lenses are often referred to as “normal” lenses because they give a field of view that is similar to what the human eye sees.
Some examples of standard focal length lenses are:
- Canon EF 50mm f/1.8 STM
- Nikon AF-S NIKKOR 50mm f/1.8G
- Sony FE 50mm f/1.8
- Olympus M.Zuiko Digital ED 45mm f/1.8
- And Fujifilm XF 50mm f/2 R WR
Standard focal length lenses are also generally smaller and lighter than other types of lenses, making them a good choice for travel or everyday use.
4. Pay Attention to the Composition
Composition is the arrangement of elements within a photograph and is an important aspect of any type of photography, including real estate photography.


Good composition can help to draw the viewer’s eye to the most important elements of the photo and create a sense of balance and harmony within the image.
In real estate photography, good composition can help to showcase the features and layout of a property, which makes the virtual staging process easier. Also, avoid cropping out important elements of the room.
By paying attention to composition, you can create more visually appealing and effective real estate photos for virtual staging.
5. Edit Your Photos

Before submitting your photos for virtual staging, it’s a good idea to do some basic editing. This can include adjusting the exposure, color balance, and sharpness to make the photo look its best.
If you don’t have time to do the editing yourself, PhotoUp has a team of professional real estate photo editors and virtual staging designers ready to help you out.
By following these tips, you can take photos that are suitable for virtual staging and help showcase the potential of a property to potential buyers or renters. Buyers can then easily visualize themselves living in the space and see the home’s full potential.
Fast & Affordable
Virtual Staging Service
Interiors. Landscapes. Commercial. Virtually transform any space.
Use the Best Virtual Staging Provider, PhotoUp!


With over a decade in the industry, PhotoUp’s expert team of designers has made the virtual staging process quick, easy, and affordable.
Sellers and agents can easily cater to any market, from residential to high-end luxury listings with PhotoUp’s 11 designs styles and extensive library of accessories:
- Mid-Century Modern
- Scandinavian
- Coastal
- Farmhouse
- American
- Industrial
- Hamptons
- Luxury
- Southwestern
- Modern
- And Commercial
With any of these design options, you can showcase an empty or outdated space and make it look like it’s taken directly from an interior magazine.
You’ll also get access to our user-friendly software, so you can upload and receive photos, and send instructions and feedback. As well as track and manage team members and clients, store final images, and more!
How to Get Started?
Getting started with PhotoUp’s virtual staging service is as easy as 1-2-3!
All you need to do is sign up for a free PhotoUp account, and:
- Upload your images
- Choose digital furniture from our large library of design styles and furnishings
- And in less than 48 hours, PhotoUp will return your proofs for approval and download
PhotoUp Virtual Staging Demo
For more details, you can either visit our tutorial on how to virtually stage a room in 5 minutes or check out our short demo:
It’s really that quick and easy to get your real estate images virtually staged!
Sign up for a free PhotoUp account today, and let our professional virtual staging designers transform your vacant real estate photos into images of an inviting, fresh, and modern home!
We hope this blog post gave you some valuable tips on how to take great virtual staging photos. Before you go, you may also find the following related resources useful:


