Table of Contents
- When Is It Useful to Remove a White Background?
- How to Remove White Background in Photoshop
- Handle Over Your Editing to the Experts at PhotoUp!
Removing a white background in Photoshop is a fundamental skill that can greatly enhance your images, especially in fields like real estate photography.
This skill is particularly useful when creating images for marketing materials, adding new backgrounds, or making objects stand out more clearly.
In this guide, we’ll show you how to easily remove a white background in Photoshop to help enhance your real estate visuals.
Before digging into the actual tutorial, let’s start by sharing when this technique is beneficial for real estate photo editing.
When Is It Useful to Remove a White Background?

In real estate marketing, background removal can help you highlight specific items, such as furniture for virtual staging, remove distracting elements from marketing banners, or create clean, professional images for listings.
Let’s present 4 scenarios when removing the background can help enhance your real estate photos.
1. Virtual Staging
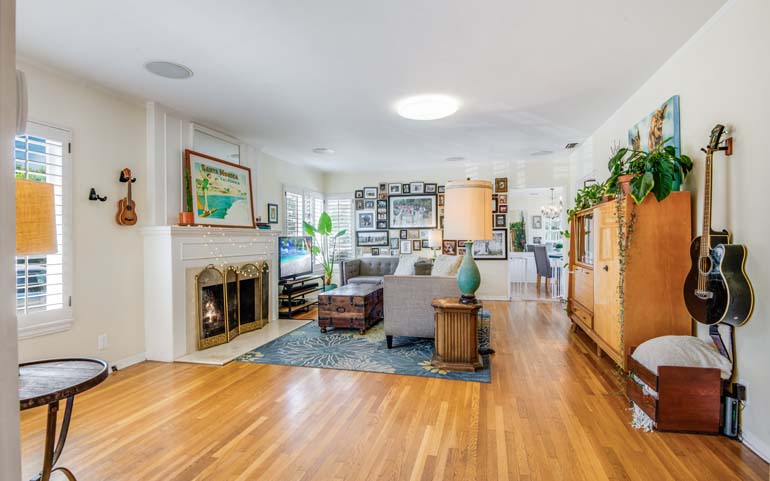
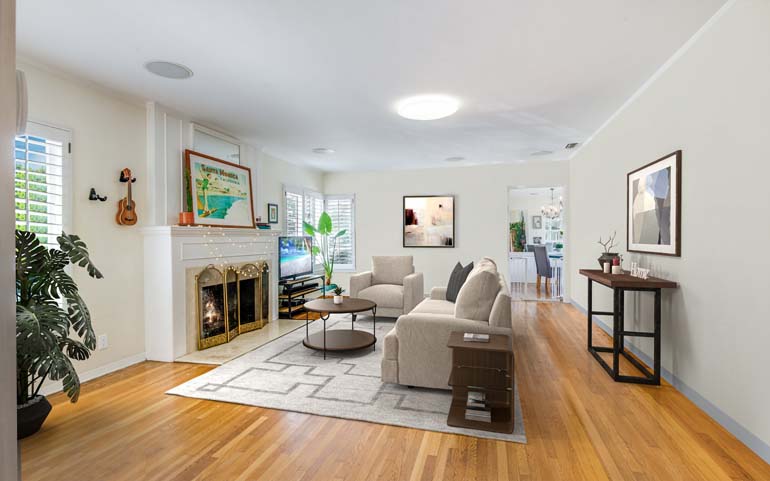
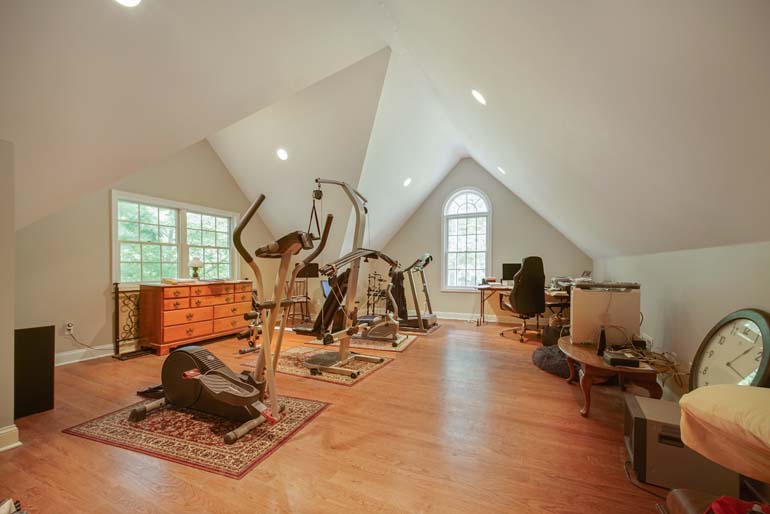
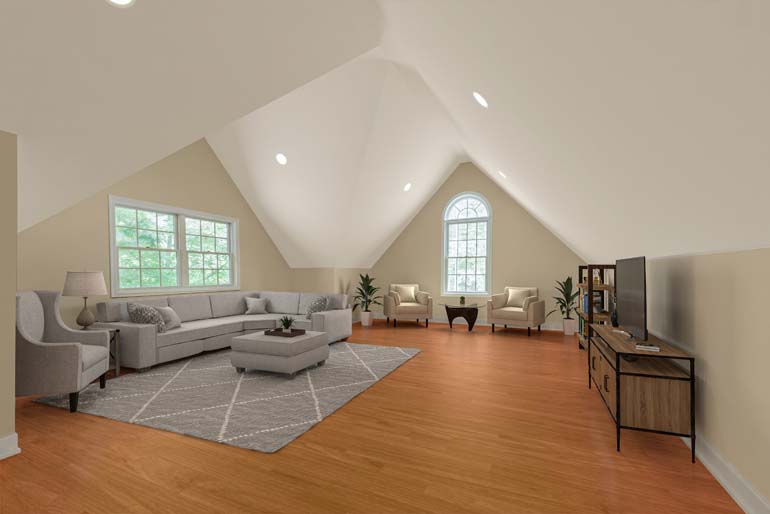
In real estate marketing, virtual staging is a powerful tool for showcasing homes.
By removing the background from images of furniture, you can place them seamlessly into empty rooms.
This allows you to create visually appealing images that help buyers imagine how a space can be utilized.
2. Marketing Materials
Real estate agents often need to create property flyers, social media posts, and other marketing materials.
Removing white backgrounds from images of homes, logos, or objects can make it easier to layer multiple elements together without awkward white edges around the subject.

3. Replacing Backgrounds of Interior Photos
In some cases, you might want to replace a plain white background with something more engaging and interesting in your interior real estate photos.
For example, if you have a shot of furniture or appliances against a white wall, you can replace that wall with a more interesting look.
4. Creating Clean, Professional Listing Images
A cluttered or distracting background can take away from the appeal of a real estate photo.
Removing messy backgrounds from images of key features, like furniture or decorative items, can help focus attention on what matters most in a listing or image.
How to Remove White Background in Photoshop
With this in mind, let’s take a look at a step-by-step guide on how to remove white background in Photoshop.
We’ll use our video tutorial on how to make the background transparent in Photoshop since it’s the same exact process.
You can either watch the video or continue reading the text below:
You can simplify the process of making backgrounds transparent using Adobe Photoshop’s AI Sensei.
Step 1. To get started, open the image from which you want to remove the background. Next, right-click on the background layer in the Layers panel.
Before making any changes, it’s good practice to duplicate your image layer. This allows you to preserve the original image as a backup.
Step 2. Select Duplicate Layer to create a copy. This ensures you have an original layer intact.
Step 3. With the duplicated layer selected, go to Properties. Click on Remove Background under the Quick Action section.
Just like magic, Photoshop AI Sensei will automatically detect and remove the background from your image, leaving the subject isolated.
Step 4. If the selection isn’t perfect, use the Quick Selection Tool or Select and Mask workspace.
Step 5. To refine the edges, adjust the brush size and paint over areas that need to be added to or subtracted from the selection.
Once you’re satisfied with this selection, press Okay. You should now see a checkerboard pattern which indicates transparency.
Step 6. Lastly, Save your file.
Save the Image as a PSD or PNG File to Retain Transparency
To retain the transparency, you need to save the file in a format that supports transparent backgrounds. The two most common formats are PSD (Photoshop Document) and PNG.
Saving as PSD
Click on File in the top menu and select Save As. Choose the location where you want to save the file. Select Photoshop (PSD) from the format options, and click Save.
Saving as PNG
Click on File in the top menu and select Save As. Choose the location where you want to save the file. Select PNG from the format options, and click Save.
And that’s it! You’ve now learned how to remove white background or make the background transparent in Photoshop.
Final Thoughts
Mastering the technique of removing white backgrounds in Photoshop is a valuable skill, especially for real estate photographers.
It allows for cleaner, more professional images that can elevate your marketing efforts and enhance property listings.
Whether you’re virtually staging a home or creating promotional materials, knowing how to remove a white background gives you greater flexibility in editing and presenting your images.
Handle Over Your Editing to the Experts at PhotoUp!

It’s essential for photographers, particularly in fields like real estate, to master post-production techniques that elevate the quality of their portfolio.
With consistent practice, these skills will become second nature, enabling you to fine-tune your images with ease and precision.
However, if you’d prefer to focus on capturing more properties and strengthening client relationships, outsourcing your editing to PhotoUp could be the perfect solution!
PhotoUp is a recognized and trusted industry leader used by thousands of real estate photographers and agents nationwide. Their real estate photo editing and marketing services have been featured on ABC, Fox News, USA Today, and industry blogs and podcasts.
What Can PhotoUp Assist With?
PhotoUp’s team of skilled real estate photo editors is ready to professionally enhance your images, with prices starting as low as $0.50 per image, depending on your subscription plan.
Our skilled photo editors can help with the following issues:
- Improper exposure levels
- Harsh shadows, lack of light, etc.
- Blurred images that were taken without a tripod
- Images that need cropping or other effects
- Lawn greening and sky replacements
- Twilight editing
- Clutter and object removal
- HDR blending
- Line and angle corrections
- And much more!
We will handle all types of issues – from basic to complex editing!
Browse Top Dedicated
Real Estate Photo Editors
Ready-to-hire editors for real estate photo editing, and more.
User-Friendly & Intelligent Platform
With PhotoUp’s user-friendly software, you can easily upload and receive photos, send instructions, and leave feedback.
It also allows you to track and manage team members and clients, and deliver photos directly to your clients.
How to get started? It’s super easy!
All you need to do is sign up for a free PhotoUp account, place your first order, and your photographs will be delivered back to you in less than 24 hours.
PhotoUp Real Estate Photo Editing Uploader Demo
To see how easy it is to get started with PhotoUp, check out our real estate photo editing uploader demo:
It’s really as easy as 1-2-3 to get beautifully edited images returned to you in less than 24 hours!
A Complete Real Estate Marketing Partner
On top of that, PhotoUp is a complete real estate marketing partner and also offers additional services such as:
- Virtual staging
- Virtual house tours
- Home walk-through videos
- Custom websites
- Single property websites
- Property flyers
- Floor plans
- House portraits
- And Virtual Assistants
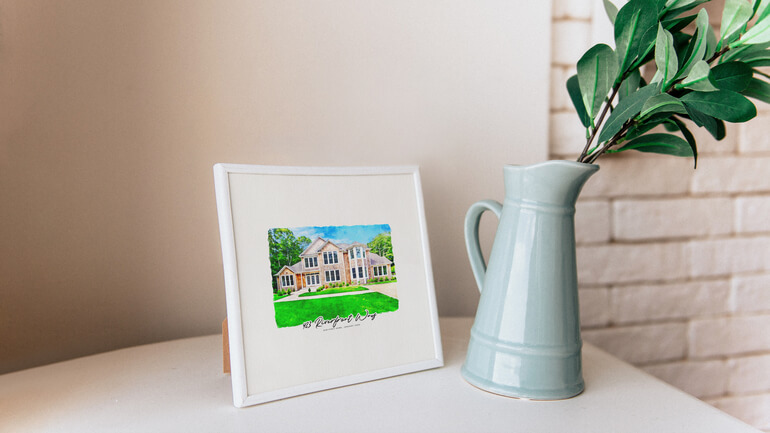
We have everything you need to enhance and market real estate photography in one user-friendly platform!
So, don’t wait!
Sign up for a free PhotoUp account today and we’ll help you remove distracting backgrounds or perform any edit you may wish to have done.
Did we mention that you get 10 free credits when you sign up for an account that you can use for any of our services?!
We hope this blog post helped you learn how to remove white background in Photoshop. If you found this guide useful, you may also want to check out the following resources:


