Table of Contents
- 10 Pro Tips on How to Edit Real Estate Photos
- Why Editing Is Essential for Real Estate Photographers
- Outsource Your Real Estate Photo Editing to PhotoUp
In the competitive world of real estate, high-quality images are essential to attract potential buyers. Knowing how to edit real estate photos effectively can make a huge difference. A well-edited photo can highlight a property’s best features, making it stand out from the crowd.
Real estate photography is not just about capturing the right shot, but also about refining the image to create a visually appealing and market-ready presentation.
In this guide, we’ll show you how to edit real estate photos like the professionals. We’ll also cover why photo editing is crucial to creating captivating real estate photography that will attract viewers’ attention.
Let’s get started!
10 Pro Tips on How to Edit Real Estate Photos
Here are 10 professional editing techniques that every real estate photographer should master, including video tutorials for each method.
1. Perspective & Horizon Correction
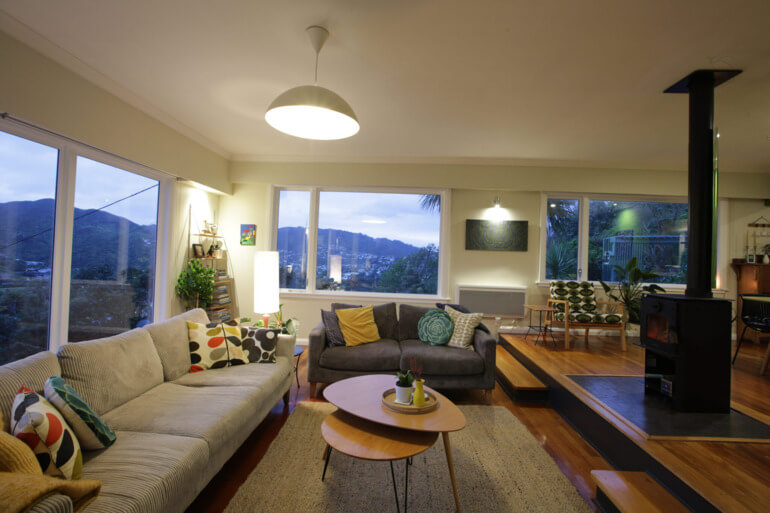
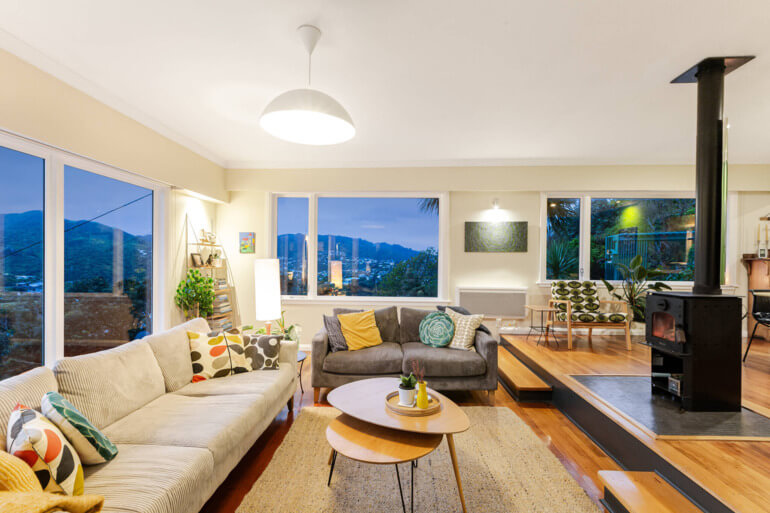
Perspective distortion occurs when buildings appear tilted due to the camera angle.
Correcting the vertical and horizontal alignment of your images ensures that walls and other structures appear straight.
This is crucial in real estate photography, as buyers expect to see properties as they are in reality, and distorted lines can distract from the overall appeal.
You can align the lines in Photoshop using the Free Transform Tool. Make sure that you select the entire image and drag the corner of the image opposite to where the lines are leaning towards.
To see how to align verticals using an alternative method, you can check out our video tutorial on how to straighten verticals in Photoshop:
2. Brightness & Color Correction


Even the best photos can suffer from poor lighting or incorrect colors. Adjusting brightness and correcting color balance ensures that the property is depicted in its best light.
This involves fine-tuning the exposure, contrast, highlights, and shadows to create a bright, inviting atmosphere.
Color correction ensures that whites are truly white, and all colors are true to life, making the property feel warm and welcoming.
To learn how to adjust the colors and make your real estate photos pop, check out our tutorial on how to color correct in Photoshop.
Also, this video tutorial walks you through how to brighten a photo in Photoshop:
3. Sky Replacement

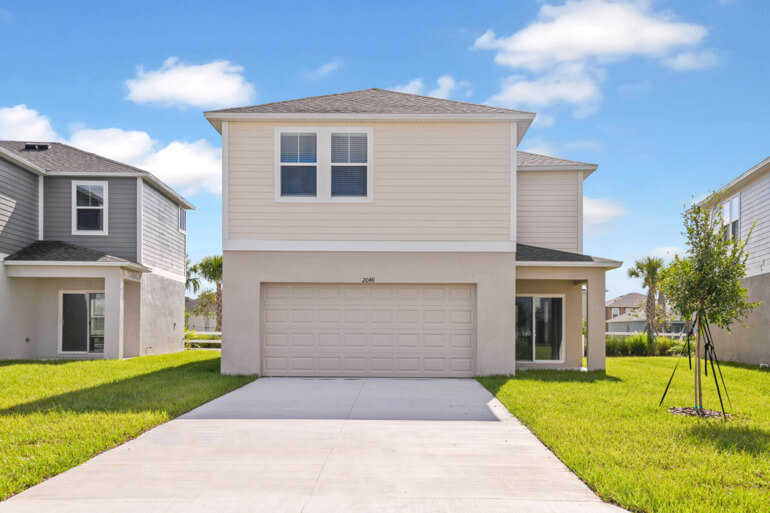
A cloudy or overcast sky can dull the mood of a property photo. Sky replacement is a powerful technique that involves swapping a dreary sky with a vibrant, sunny one.
This instantly brightens the entire image, making it more attractive to potential buyers.
Tools like AgentUp Editing AI or Photoshop’s Sky Replacement feature allow you to seamlessly integrate a new sky that complements the overall tone of the image.
To learn how to manually transform dull winter skies into bright and inviting ones, check out our video tutorial on how to do a sky replacement in Photoshop:
In addition, this video tutorial walks you through how to replace a summer sky in Photoshop:
4. Decluttering

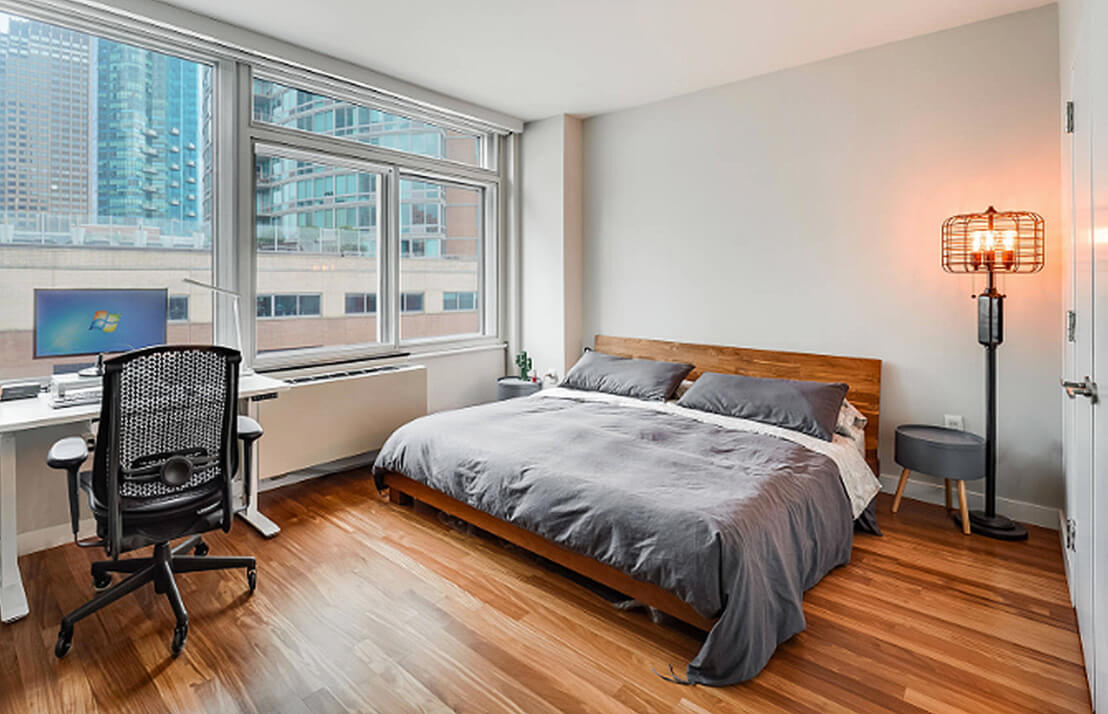
Decluttering involves digitally removing unwanted objects or distractions from photos, such as cables, furniture, or personal items.
This type of editing can be done using object removal techniques in Photoshop or virtual staging.
This technique helps keep the focus on the property itself, ensuring that potential buyers are not distracted by unnecessary clutter.
It’s especially useful when sellers cannot physically declutter the space before a photo session.
In this video tutorial, we’ll show you how to use the Clone Stamp Tool to declutter your images:
For more details and expert tips, check out this video tutorial on how to remove a car from a driveway in Photoshop:
5. Color Cast Removal


Color casts, often caused by artificial lighting or reflective surfaces, can make photos look unrealistic.
Removing these casts is essential to present the property with true-to-life colors.
For instance, warm lighting from incandescent bulbs might give a yellow tint, while fluorescent lights can add a greenish hue.
Using color correction tools in Photoshop or Lightroom can help neutralize these tints for a more balanced and appealing image.
To see how this is done, check out our video tutorial on how to easily remove color cast from real estate images:
Additionally, this video shows you how to remove color cast without desaturating in Photoshop:
The Real Estate Photography
Business Systems You Need
PhotoUp is the ultimate real estate photographer business platform.
6. Day-to-Dusk Conversion


Day-to-dusk conversion is an advanced editing technique that transforms a daytime photo into a twilight scene.
Twilight photos add a dramatic, cozy, and luxurious feel to real estate listings.
These images are highly effective in showcasing outdoor and indoor lighting and the overall ambiance of the property.
This technique involves carefully adjusting the exposure, color tones, and adding lighting effects to simulate the glow of sunset or dusk.
To learn how to do this effectively, check out our video tutorial on how to edit a day to dusk image:
7. Lawn Enhancement
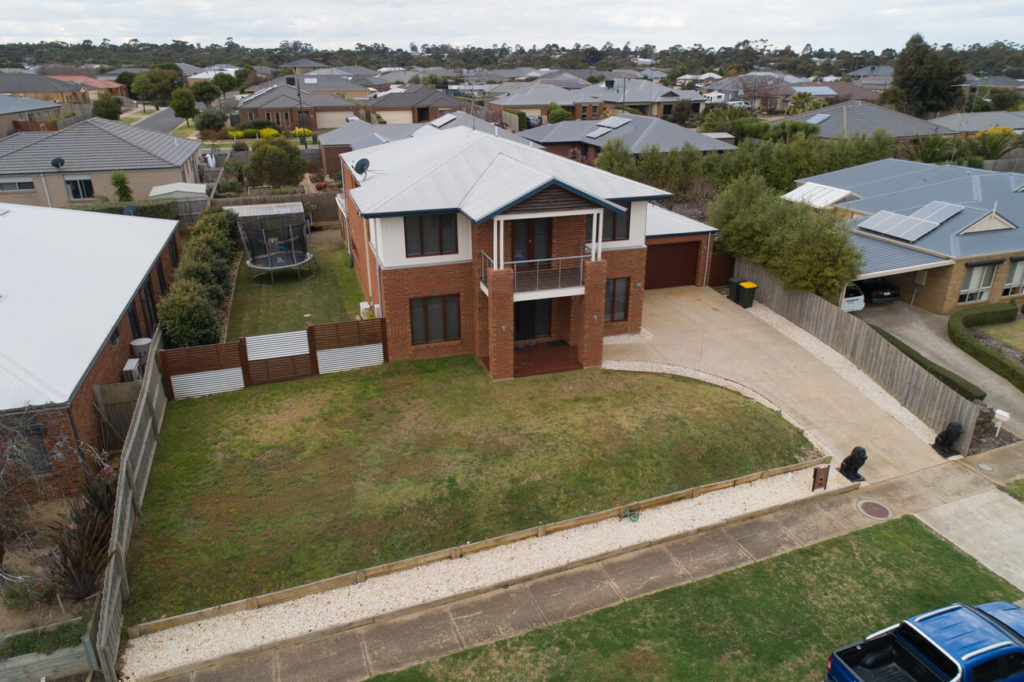

A dull or patchy lawn can detract from the curb appeal of a property.
Lawn enhancement is a simple yet effective technique that involves greening and enhancing grass to make it look lush and well-maintained.
Whether you’re dealing with brown spots or dry patches, this process can revitalize the lawn in the image, boosting the property’s outdoor appeal.
To learn how to create a green beautiful lawn, check out our video tutorial on how to make grass green in Photoshop:
8. HDR Editing


High Dynamic Range (HDR) photography involves blending multiple exposures of the same scene to capture a wide range of details in both shadows and highlights.
In real estate photography, HDR editing is crucial for presenting rooms with varying light levels.
This technique ensures that both the interior and exterior views are perfectly balanced, making the property look more inviting and spacious.
HDR editing can be done manually or using automated tools like Photomatix or Lightroom’s HDR Merge feature.
To see how to get started, watch our video tutorial on how to edit HDR photos in Lightroom:
9. Window Masking


Bright windows can often be overexposed, losing the detail of the outdoor views.
Window masking allows photographers to retain the views outside while keeping the interior properly exposed.
By masking windows and selectively adjusting exposure, you can strike the perfect balance between interior lighting and the outdoor scenery, providing potential buyers with a full sense of the property’s environment.
To learn more about this editing technique, watch our video demo on how to mask windows in Photoshop:
10. Noise Reduction


Image noise, especially in low-light situations, can make photos appear grainy and unprofessional.
Noise reduction is a key editing technique that helps smooth out these imperfections, resulting in cleaner and sharper images.
Tools like Lightroom and Photoshop offer noise reduction filters that can be applied selectively, ensuring that details remain intact while reducing unwanted grain.
For more details, check out our video tutorial on how to reduce noise in Lightroom and Photoshop:
And that’s it! You’ve now learned how to edit real estate photos like a pro.
Let’s recap why learning how to enhance your real estate photos effectively is essential to capture viewers’ attention and sell listings faster.
Why Editing Is Essential for Real Estate Photographers
In today’s real estate market, 100% of buyers start their search online, and the photos they see can make or break their interest in a property.


Professional editing helps real estate photographers create images that not only highlight the best aspects of a property but also present it in a way that’s both visually stunning and true to life.
A well-edited photo:
- Increases Appeal: Buyers are more likely to explore listings with visually appealing photos, leading to more showings and offers. According to studies, 83% of buyers said pictures are very important in helping them choose which homes they will visit
- Creates a Consistent, Professional Look: Professionally edited images give listings a polished and consistent aesthetic, which is crucial in creating a positive first impression
- Captures the Property’s True Potential: Editing techniques like perspective correction, color balance, and sky replacement help showcase the property in its best light, allowing buyers to visualize it as their future home
- Lead to Higher Offer Prices: Homes featuring professionally edited photos receive 47% higher asking prices per square foot
- Help Sell Listings Faster: About 32% of homes with high-quality photographs sell faster than those without visuals
In a competitive market, well-edited photos can make all the difference in attracting serious buyers and helping properties sell faster.
For real estate photographers, mastering these editing techniques ensures that every listing stands out and leaves a lasting impression on potential buyers.
The Ultimate All-in-One
Real Estate Photographer Business Platform
Grow a successful real estate photography business with PhotoUp.
Outsource Your Real Estate Photo Editing to PhotoUp


Don’t have time to learn new editing techniques? Don’t worry, PhotoUp has got your back!
With PhotoUp, you gain an expert partner eager to assist you in producing high-quality, natural-looking real estate photos that are sure to captivate buyers and assist in selling properties faster.
Based in the US and with additional offices in the Philippines, we offer a full range of services to cater to all your photo editing needs, including:
- Brightness and color correction
- Vertical lines adjustments
- Advanced object removal
- Day-to-dusk conversion and twilight editing
- Lawn greening and sky replacements
- HDR editing
- Manual blending
- Flambient editing
- Window masking
- And much more!
PhotoUp’s team of editors can handle any editing job — big or small, complex, or simple.
Plus, our pricing is affordable, with most photo editing services starting at only $1.50 per image for on-demand editing.
Browse Top Dedicated
Real Estate Photo Editors
Ready-to-hire editors for real estate photo editing, and more.
Dedicated Photo Editing
We also offer dedicated photo editing services. A dedicated editor learns your style and approach and provides consistency while improving turnaround times.
You’ll also be surprised at how dedicated photo editing can save you money.
Consider this – on average, a dedicated editor outputs 1,800+ edits per month, at a final cost of $0.72 per edit. We have even seen $0.50 per edit.
Working with a dedicated photo editor is not only affordable, but it will save you countless hours while also boosting your image quality!
PhotoUp Dedicated Editing
For more details, you can check out our short dedicated editing demo video:
It’s really that easy to get started with a dedicated editor!
A Complete Real Estate Marketing Service


On top of that, PhotoUp does much more than just real estate photo editing. We are a complete real estate marketing service and also offer powerful marketing tools such as:
- Virtual staging
- Virtual house tours
- Single property websites
- Real estate photographer websites
- Property flyers
- Floor plans
- Video editing
- Virtual Assistants
- House portraits
- And more!
We have everything you need to enhance and market real estate photography in one user-friendly software!
So, take the next step, and take your real estate photography to the next level.
Sign up for a free PhotoUp account today, and give PhotoUp’s professional real estate photo editing service a try!
For a limited time, we even offer 10 free credits when signing up for an account you can use on any of our services.
We hope this blog helped you learn how to edit real estate photos like the pros. If you found this blog post useful, you may also want to check out some related resources:


