


Table of Contents
- The Importance of Background Removal in Photography
- How to Make Background Transparent in Photoshop
- Have You Thought About Outsourcing Your Photo Editing?
Do you want to learn how to make a background transparent in Photoshop in just a few clicks? Then, you’ve come to the right place!
Whether you’re preparing property images or refining your editing skills, making the background of an image transparent is a valuable technique.
This guide will walk you through the steps to remove the background and make it transparent using Adobe Photoshop.
Let’s start by discussing how removing the background can positively impact your images and make your subject pop.
The Importance of Background Removal in Photography
In photography, especially product photos, the background can often distract from the subject, taking away from the overall impact of your images.
For photographers, mastering the art of background removal is essential. Using image editing tools like Photoshop, you can make backgrounds disappear completely, allowing your main subject to stand out.
This technique is instrumental when you want to isolate the subject, making it the focal point of the image.
Removing the background can significantly enhance the visual appeal, whether you’re showcasing a shoe, a model, or even your own logo or artwork.
With a transparent background, you have the flexibility to place your subject over different backgrounds, making it versatile for various projects.
In essence, background removal is a powerful tool in a photographer’s toolkit, enabling you to create cleaner, more focused images that truly capture the viewer’s attention.
How to Make Background Transparent in Photoshop
With this in mind, let’s move on to the actual tutorial. Here’s a step-by-step guide to making a background transparent in Photoshop using Adobe Sensei-powered tools.
You can either watch the video tutorial or continue reading the text below:
Simplify the process of making backgrounds transparent using Adobe Photoshop’s AI Sensei.
Step 1. To get started, open the image from which you want to remove the background. Next, right-click on the background layer in the Layers panel.
Before making any changes, it’s good practice to duplicate your image layer. This allows you to preserve the original image as a backup.
Step 2. Select Duplicate Layer to create a copy. This ensures you have an original layer intact.
Step 3. With the duplicated layer selected, go to Properties. Click on Remove Background under the Quick Action section.
Just like magic, Photoshop AI Sensei will automatically detect and remove the background from your image, leaving the subject isolated.
Step 4. If the selection isn’t perfect, use the Quick Selection Tool or Select and Mask workspace.
Step 5. To refine the edges, adjust the brush size and paint over areas that need to be added to or subtracted from the selection.
Once you’re satisfied with this selection, press Okay. You should now see a checkerboard pattern which indicates transparency.
Step 6. Lastly, Save your file.
Save Image as a PSD or PNG File to Retain Transparency
To retain the transparency, you need to save the file in a format that supports transparent backgrounds. The two most common formats are PSD (Photoshop Document) and PNG.
Saving as PSD
Click on File in the top menu and select Save As. Choose the location where you want to save the file. Select Photoshop (PSD) from the format options, and click Save.
Saving as PNG
Click on File in the top menu and select Save As. Choose the location where you want to save the file. Select PNG from the format options, and click Save.
And that’s it!
If you want to learn how to remove the background through clipping, you can check out our guide on how to remove the background of a picture in Photoshop.
Making a background transparent in Photoshop is a straightforward process that can significantly enhance your images, particularly in real estate photography.
By following these steps, you’ll be able to create polished, professional visuals that stand out.
Have You Ever Thought To
Outsource Photo Editing?
Try it today with 5 free edits from three professional photo editors.

Have You Thought About Outsourcing Your Photo Editing?
As a photographer, you probably know how frustrating it can be to be stuck in post-processing for hours and hours.

Editing your photos after your photoshoot takes time away from doing what you love – snapping more pictures and building fruitful relationships with clients.
We have a solution that can help you save time and money on editing so that you can focus on growing your photography business – outsource your editing to PhotoUp!
As the leading real estate photo editing service, PhotoUp offers a variety of editing services to enhance your photography such as:
- Brightness and color correction
- Vertical lines adjustments
- Advanced object removal
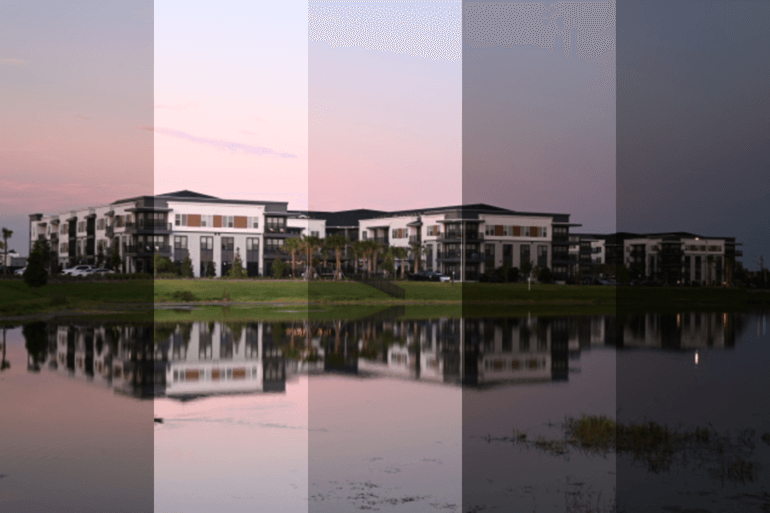
- Day-to-dusk conversion and Twilight editing
- Lawn greening and sky replacements
- HDR editing
- Manual blending
- Flambient editing
- And much more!
Browse Top Dedicated
Real Estate Photo Editors
Ready-to-hire editors for real estate photo editing, and more.
PhotoUp is committed to delivering the absolute best photo editing services in the industry.
A One-Stop Shop for Real Estate Marketing
Additionally, PhotoUp is a one-stop shop for real estate marketing and also offers additional services such as:
From professional quality editing to fast turnaround times and affordable pricing, PhotoUp is the ultimate solution for all your real estate marketing needs.
How to Get Started
Getting started with PhotoUp is super easy.
When signing up for a free PhotoUp account, you’ll get access to our user-friendly software where you can upload and receive photos, send instructions, and give feedback.
It also allows you to track and manage team members and clients, store final images, and more!
PhotoUp Real Estate Photo Editing Uploader
To see how easy it is to get started with PhotoUp, have a look at our real estate photo editing uploader tutorial:
It’s really as easy as 1-2-3! So why wait?
Sign up for a free PhotoUp today, and start outsourcing your photo editing needs to the experts!
And the best part? When you sign up for an account, you’ll receive a bonus of 5 free credits to use however you please!
We hope this blog post helped you learn how to make background transparent in Photoshop. Before you go, you may also want to check out the following resources:

