Do you want to know how to make grass green in Photoshop and create a full, healthy lawn for your real estate photography?
Nothing is more welcoming and inviting than a full, green lawn outside of a home.
A well-manicured, healthy lawn sends the right message about your property and immediately helps increase the curb appeal of any listing.
So, in this post, we’ll show you how to make grass green in Photoshop to enhance your property listing.


Of course, not all real estate photos get it right.
Sometimes, you need to take photos in the wrong season when the lawn has dead spots. Or when there hasn’t been a lot of rain and the grass is brown.
While that’s unfortunate, the good news is that there are digital tools available that can adjust the color of your lawn to show the home in the best light.
Let’s show you how to make grass green and create a beautiful lawn in Photoshop next.
Simple Steps to Make a Lawn Green in Photoshop
To get started, you can follow along with this video tutorial or continue reading the text below:
- To begin, open the photos you need to work with in Lightroom and make all your preliminary adjustments.
- Then, right click on the photo and select ‘Edit in Adobe Photoshop’
- There are two ways to go for greening the grass; either you choose the Blending Option to Color or the COM method.
Blending to Color
Let’s start with Blending to Color.
1. In Photoshop, duplicate the photo and add a blank new layer.
2. Set the Layers Blending Mode to Color.
3. In the Color Picker, use the eyedropper (I), select the right color to paint on. It should be close to the original. Find the right color by a little bit of trial and error.
4. When you have the right color, it’s time to brush it onto the lawn.
5. Add masking to the color layer to remove the excess color from the layer.
6. Click S to Save.
COM Method
Now, let’s try the COM (Color, Overlay, Multiply) method next.
- This time you will need another photo with a lawn you really like.
- To start this process, duplicate the background image three times and adjust the lawn size and shape to match your original.
- First, adjust the color in one layer using 50-60% opacity.
- Next, change its overlay with 40% opacity.
- Change the last layer to multiply, and set its opacity to 40%.
- In the next step you’ll do the Inverted Masking. Hold down the ALT button and click the Masking button to achieve Inverted Masking.
- Use a Pen tool (P), or a Lasso tool (L), trace around the lawn you want to replace.
- Make sure to feather your selection (between 0.5% to 1.5%) so that the edges of your masking look smooth.
- Finally, press the DELETE button.
Your lawn should now come out looking green, healthy, and beautiful!
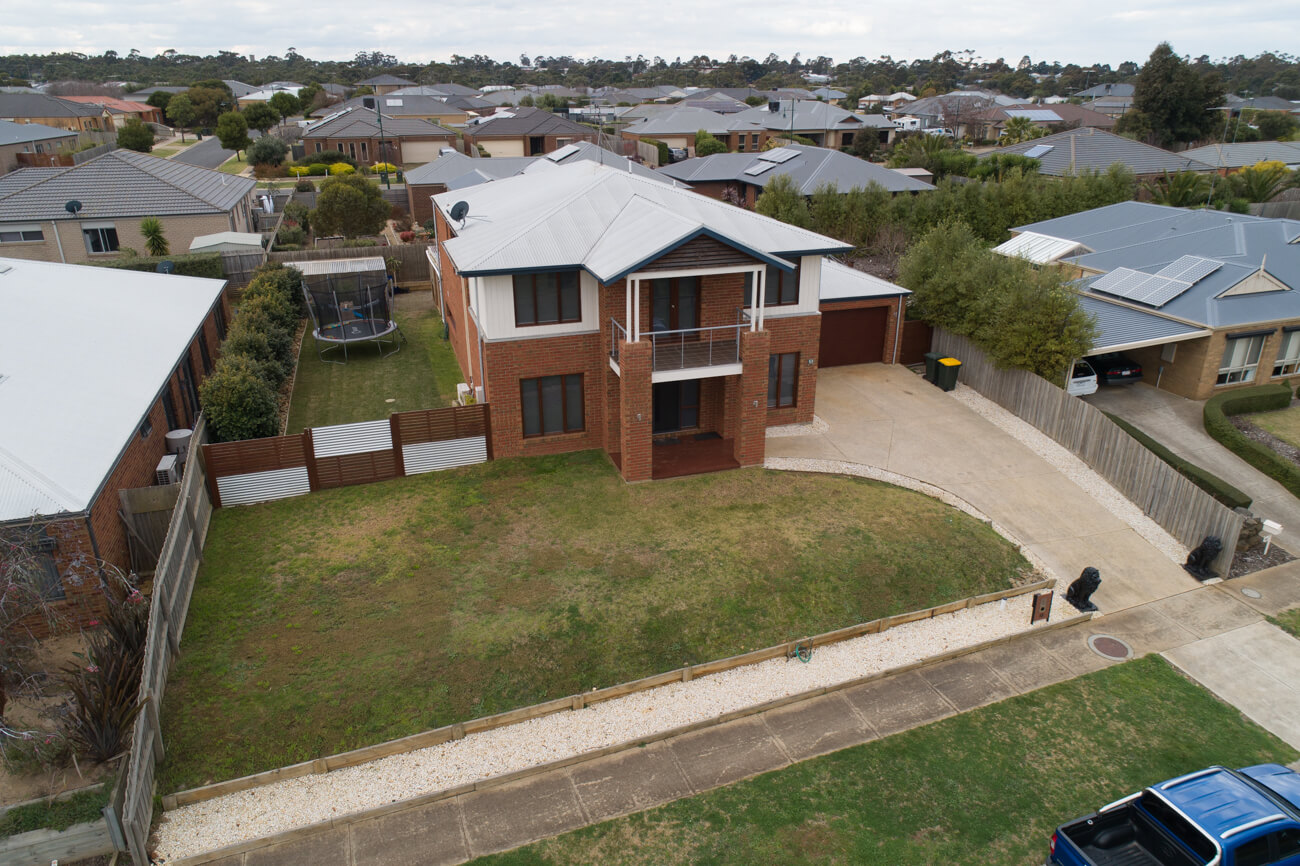
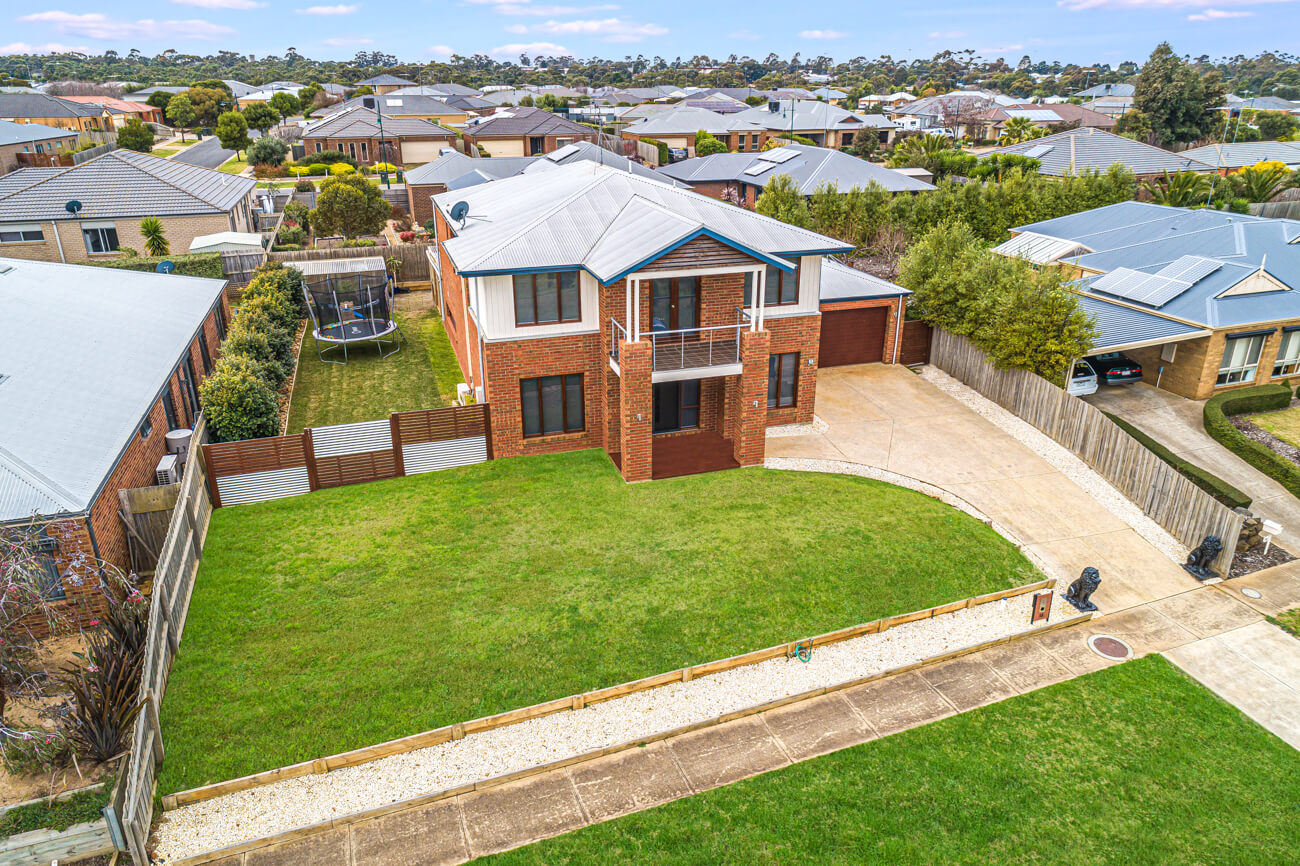
To better illustrate how much better it looks, here are some before and after examples of lawns that were enhanced using this method:
Have You Ever Thought To
Outsource Photo Editing?
Try it today with 10 free edits from three professional photo editors.


