Table of Contents
- What Is Flambient Real Estate Photography?
- Why Shooting Flambient?
- How to Edit Using the Flambient Method (8 Steps)
- PhotoUp’s Professional Real Estate Photo Editing Service
Do you want to learn how to edit using the flambient method in real estate photo editing?
The flambient method is one of the fastest-growing methods for shooting real estate photography. It’s a relatively new method but has had the fastest growth thanks to its outstanding benefits.
Real estate photographers know the enormous potential of flambient shots, making them a gem, especially for interior photos. However, they need professional post processing to create detailed and crisp images.
In this post, we’ll show you how to edit using the flambient method to create stunning and clean real estate photos. We’ll also cover what flambient real estate photography is and why you should shoot flambient.
Alright, let’s get started!
What Is Flambient Real Estate Photography?
In real estate photography, flambient photos are an iteration of bracketed HDR images. Instead of simply taking shots with different exposure settings, you take 2-3 shoots to produce one final image.


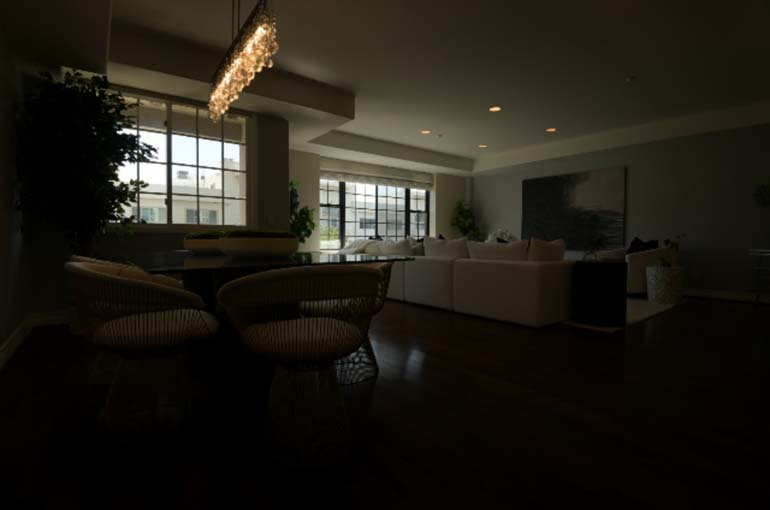
Typically, these shots include an ambient light shot, a flash shot, and sometimes even a window shot that are later combined into one image in post processing.
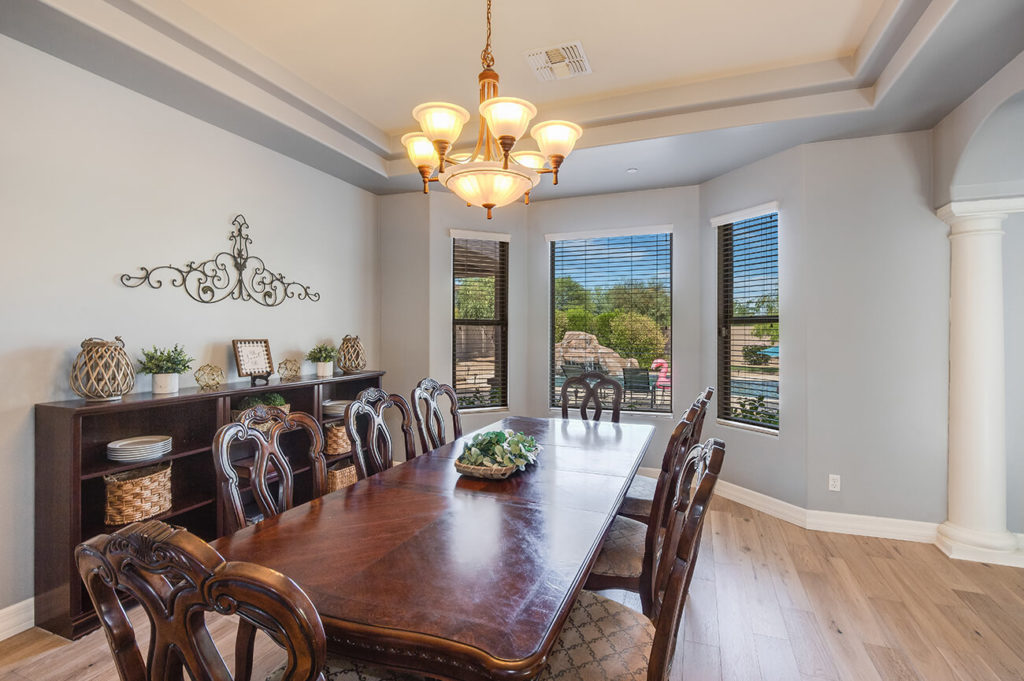
The combination of ambient light, flash, and window shots allow the image to come out as crisp, clean, and detailed with the right balance during editing.
Now that you know what flambient real estate photography is, let’s take a look at why you should shoot flambient.
Why Shooting Flambient?


In real estate photography, details sell. People looking to buy a property will want to see what they are planning to go visit and possibly buy without any surprises that could disappoint them later on.
And the struggle is trying to balance shots that look natural, as the eye would see it in person, with shots that are bright and vibrant, and capture the natural colors of the room.
For example, shooting in just ambient light (the most natural-looking light), often results in shifted or lost color on walls and dark shadow areas – especially if the home doesn’t have a lot of natural lighting.
And unless you are really good with using multiple off-camera flashes, shooting just flash can result in an image that looks fake.
It can cause shadows that point towards the windows instead of away from them. As well as hot spots in areas that were closer to the flash and dark spots in areas that were farther away from the flash.
Flambient Combines the Best of Both Worlds
Overall, flambient photography recognizes both the strengths and limitations of shooting all-flash or all ambient and attempts to combine them to get the best of both worlds.
It balances the strength and limitations of the flash and ambient shots, combining them to create the best possible results – a final clean, detailed, and crisp-looking image.
In short, the flambient technique helps save you time on editing while still producing higher-quality photos.
Now, let’s show you how to edit using the fambient method in Lightroom and Photoshop.
Have You Ever Thought To
Outsource Photo Editing?
Try it today with 10 free edits from three professional photo editors.
How to Edit Using the Flambient Method (8 Steps)
Editing flambient images incorporates the use of layers, window pulls and brushing out identified parts of the image.
To get started, you can either watch the video tutorial or continue reading the text below.
Flambient Real Estate Photo Editing
Step 1. To begin, put your photos in Lightroom. Mostly, these are composed of 2 exposures – a flash photo and an ambient photo.
The ambient photo should have correct exposure and balance overall. And the flash photo should also have decent exposure as it affects the color when it is too dark or too light when you are done adjusting time to move them to Photoshop.
Step 2. Select the 2 photos, then right click, and open them as layers in Photoshop.
Step 3. In Photoshop in the layers panel, make sure that the ambient layer is on top of the flash layer. (It’s recommended to name your layers to easily recognize them).
Step 4. The next thing you need to do is change the blending mode of the ambient layer to luminosity. This will retain the exposure of the ambient layer and show only the colors.
If you zoom in you will see the discoloration on the image due to the effect of the blending mode to the flash shadow layer.
Step 5. To fix this, all you have to do is add a blank new layer and change its blending mode to color.
Step 6. Then, by the use of the Brush Tool, select the surrounding color in the area and start painting on the part where the discoloration is visible. Make sure when doing this to not paint on the things that shouldn’t be painted on.
Step 7. If there is a window, then add masking to the ambient layer to mask the window view.
Step 8. And for the finishing touch, set your brush in zero percent hardness with 10-20% opacity and brush on areas that need recovery for the whole image excluding areas where the flash shadows are prominent.
This is to avoid recovering the shadows. Just brush it back if you happen to brush on the part where the shadow is.
Lastly, click save, and that’s how you edit flambiant real estate photos!
High-Quality & Consistent
Real Estate Photo Editing
Hire a dedicated editor with performance metrics from $7/hour.
PhotoUp’s Professional Real Estate Photo Editing Service

The flambient method is a surefire way to help you create pristine interiors where ambient light and flash intersect to create stunning images.
As a real estate photographer, this is a great technique to learn but one that requires utmost detail and balance to execute.
Instead of spending too much time on learning advanced photo editing techniques, you may want to consider using a professional real estate photo editing service like PhotoUp.
This will help you free up time to shoot more properties and be out in the field building lasting relationships.
PhotoUp Offers Professional, Yet Affordable Real Estate Photo Editing

PhotoUp has a team of highly talented photo editors who are ready to professionally edit your real estate photos, starting at the low cost of $1.50 per image.
Except for editing the flambient method, our skilled photo editors can help with the following issues:
- HDR editing
- Improper exposure levels
- Harsh shadows, lack of light, etc.
- Images that need cropping or other effects
- Color correction and image enhancement
- Lawn greening and sky replacements
- Noise reduction and ghosting
- Clutter and object removal
- Line and angle corrections, etc.
Browse Top Dedicated
Real Estate Photo Editors
Ready-to-hire editors for real estate photo editing, and more.
PhotoUp also offers other real estate marketing services, such as:
- Virtual staging
- Video editing
- Real Estate Photographer Websites
- Single property websites
- House portraits
- Virtual Assistants
- And more.
When signing up for a free PhotoUp account, you’ll also get access to our user-friendly photo management system, so you can upload and receive photos. As well as send instructions and feedback, track and manage team members and clients, store final images, and more!
PhotoUp Real Estate Photo Editing Uploader Demo
To see how quick and easy it is to get started with PhotoUp, check out our real estate photo editing uploader demo:
As simple as that!
Why don’t you try us out for yourself?!
Sign up for a free PhotoUp account today, and get 10 free edits! We’ll return your professionally edited real estate images in less than 24 hours.
We hope this blog post helped you learn how to edit using the flambient method in real estate photo editing. Before you go, you may also want to check out the following resources:


