


Table of Contents
- When Do You Need to Cut Out an Image in Photoshop?
- How to Cut Out an Image in Photoshop (2 Methods)
- Outsource Your Photo Editing to the Experts at PhotoUp
Do you want to learn how to cut out an image in Photoshop?
Cutting out an image in Photoshop is an essential skill for real estate photographers and Photoshop users alike. Whether you’re looking to declutter a property photo or create a sleek marketing image, mastering this technique can save you both time and effort.
In this guide, we will cover when it’s useful to cut out an image in Photoshop and how to do it using two different techniques. Plus, we’ll introduce you to a great outsourcing option for your photo editing needs.
When Do You Need to Cut Out an Image in Photoshop?
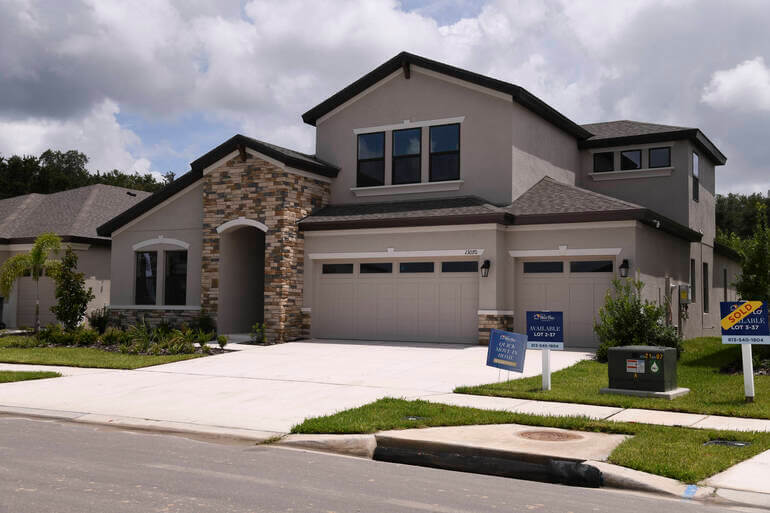
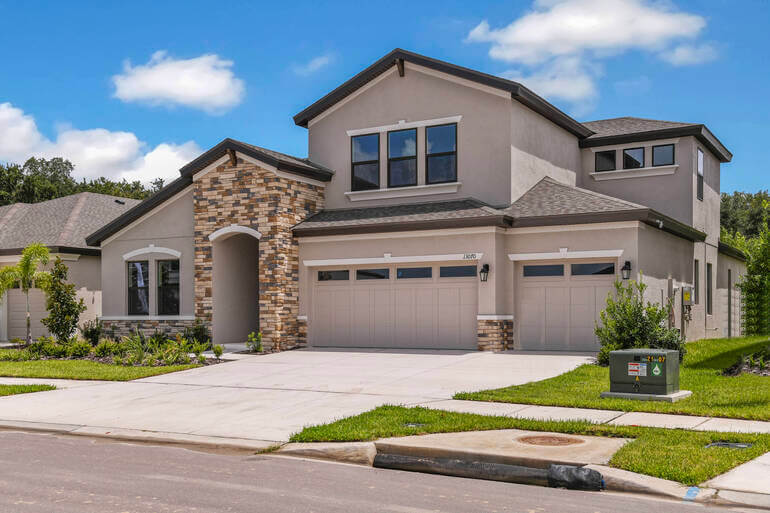
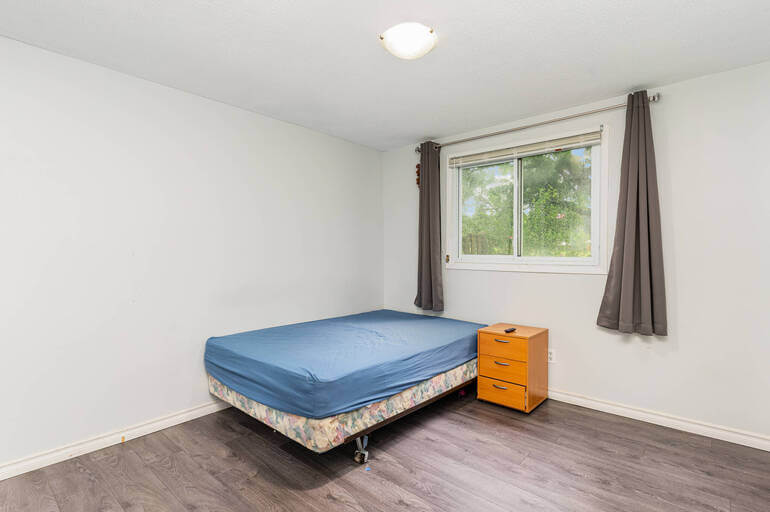
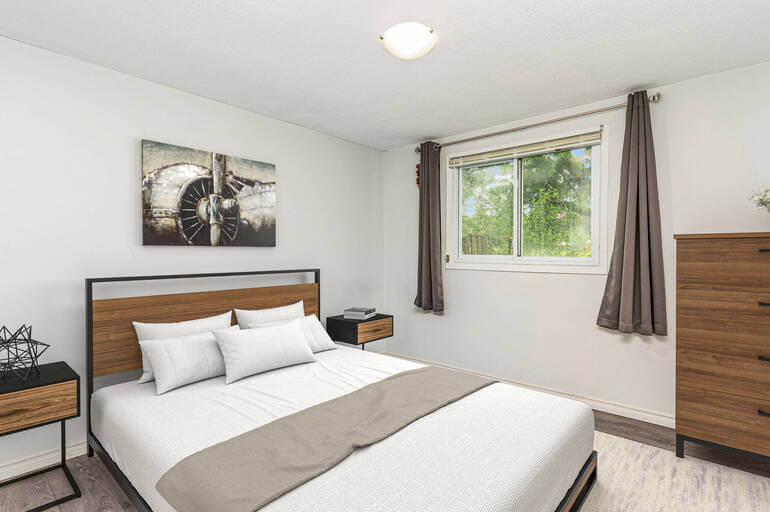
Real estate photos filled with unwanted items, messy rooms, and poorly organized spaces don’t sell listings.
So, learning how to cut out an image can be useful in various scenarios, especially for:
- Decluttering real estate photos to create visually appealing property listings
- Creating marketing materials like property flyers, brochures, and online advertisements
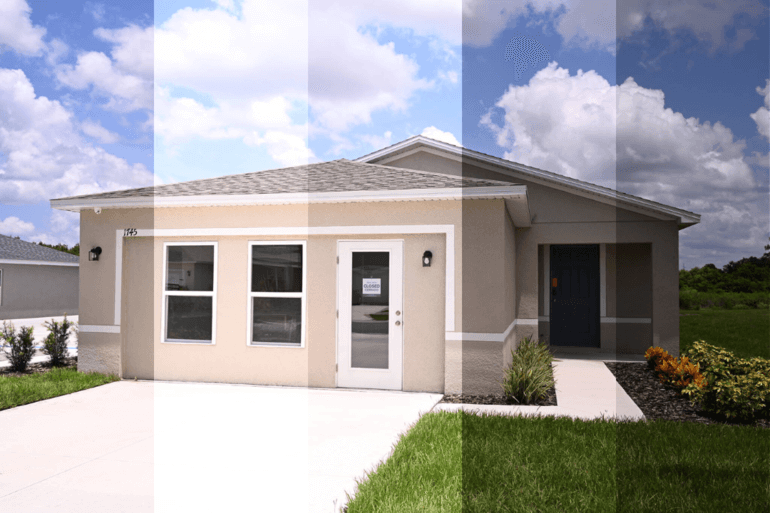
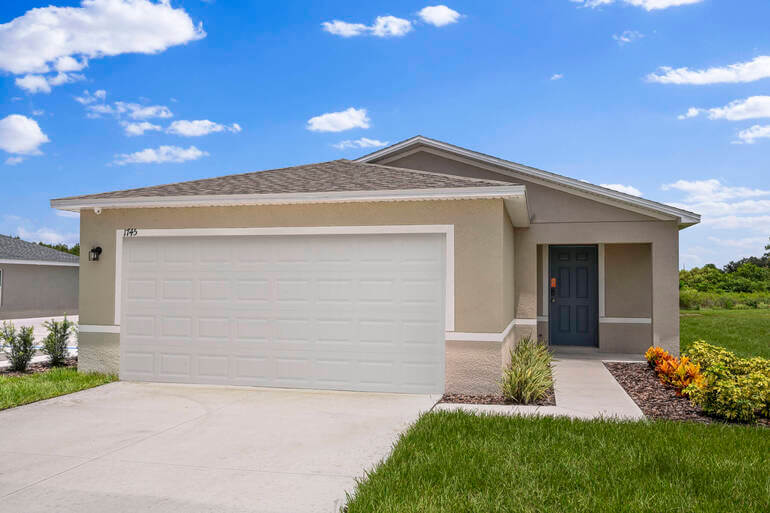
- Enhancing photos by replacing dull backgrounds or skies with more attractive ones
- Or, focusing on specific elements like furniture or architectural details
Cutting out images in Photoshop doesn’t have to be daunting. With the right tools and techniques, you can achieve professional results quickly and easily.
How to Cut Out an Image in Photoshop (2 Methods)
With that being said, let’s show you how to cut out an image in Photoshop using two different methods – the Quick Select Tool and Select and Mask.
You can either watch the video tutorial or continue reading the text below:
1. How to Cut Out an Image Using Quick Select
Step 1. First, launch Photoshop and open the image you want to cut out. Choose the Quick Selection Tool from the toolbar on the left, and then, select the Object.
Step 2. Click and drag over the area of the image you want to cut out. The tool will automatically detect the edges of the object.
2. How to Cut Out an Image Using Select & Mask
For more complex images, the Select and Mask option provides greater precision:
Step 1. Once you have a rough selection, click on Select and Mask in the Options bar at the top to refine your selection.
Step 2. In the Select and Mask workspace, use the Refine Edge Brush Tool to clean up the edges of your selection.
Step 3. Adjust the Smooth, Feather, Contrast, and Shift Edge sliders to refine the selection further.
When you’re satisfied with this selection, click OK to exit the Select and Mask workspace.
Step 4. With the selection still active, click on the Add Layer Mask button at the bottom of the Layers panel. This will create a mask that hides everything outside the selection.
Step 5. If needed, you can further refine the mask by painting on it with the Brush Tool. Painting with black removes parts of the image while painting with white brings them back.
Step 6. Once you’re happy with the cutout, you can Save your image.
And there you have it! You’ve now learned how to cut out an image in Photoshop using two different techniques.
Have You Ever Thought To
Outsource Photo Editing?
Try it today with 10 free edits from three professional photo editors.

Outsource Your Photo Editing to the Experts at PhotoUp
If you find these steps time-consuming or challenging, consider outsourcing your photo editing needs to PhotoUp.
PhotoUp, based in Grand Rapids, Michigan with offices in Cebu, the Philippines offers expert photo editing services, allowing you to focus on what you do best—capturing beautiful real estate images.
From background removal to advanced retouching, our team can handle it all. Here are some examples of what we can do:
- Brightness and color correction
- Vertical lines adjustments
- Advanced object removal
- Day-to-dusk conversion and twilight editing
- Lawn greening and sky replacements
- HDR editing
- Manual blending
- Flambient editing
- And much more!
Wait! That’s not all…
PhotoUp Offers More Than Just Editing
PhotoUp offers so much more than just editing. We are a complete real estate marketing firm and also provide powerful marketing tools such as:
- Virtual staging
- Virtual house tours
- Video editing
- Single property websites
- Real estate photographer websites
- Property flyers
- Floor plans
- House portraits
- And Virtual Assistants
PhotoUp has everything you need to enhance and market real estate photography under one roof.
Easy Upload & Order Process
Getting started with PhotoUp is a breeze!
All you need to do is sign up for a free PhotoUp account, and you’ll get access to our user-friendly photo management system where you can upload and receive photos, send instructions, and download your beautifully edited images.
In addition, our software also allows you to track and manage team members and clients, store final images, and more. It can’t be easier to run and grow your photography business!
PhotoUp Real Estate Photo Editing Uploader Demo
To see how easy it is to get started using our software, have a look at our real estate photo editing uploader demo:
It’s really that easy to get beautifully edited images returned to you in less than 24 hours!
So what are you waiting for? Try our services out today!
Sign up for a free PhotoUp account and let PhotoUp’s professional real estate photo editors take the editing off your plate so you can focus on growing your business!
Plus, for a limited time, you’ll get 10 free credits you can use on any of our services when signing up for an account.
We hope this blog post helped you learn how to cut out an image in Photoshop. Before you go, you may also want to check out the following resources:

