Table of Contents
- What Is Gradient Effect?
- How to Create Gradients in Photoshop (7 Simple Steps)
- How to Create a Gradient Sky
- Let the Experts Edit Your Real Estate Photography
Are you looking to learn how to create gradients in Photoshop for your real estate photography or just any image in general?
Gradients can create a nice 3D color look for your images. The gradient feature in Photoshop can help take your photo editing to new heights.
In this post, we’ll show you how to create gradients in Photoshop to produce beautiful real estate photography. We’ll also cover what the gradient effect is and the different types of gradients you can use.
Alright, let’s get started!
What Is Gradient Effect?
The gradient effect in Photoshop produces a 3D color look by blending one color with another.

This effect is created by using multiple colors, where one color gradually fades and changes into another color, creating a nice 3D effect.
You can easily make a gradual transition between two or more colors in Photoshop by using the Gradient Tool, which we’ll show you how to do in a bit.
You can then set a gradient image as a background, as a sky in your real estate photography, over an image or video, and more to make it pop.
5 Different Types of Gradients
There are 5 different types of gradients in Photoshop:
- Linear gradient: Shades from the starting point to the ending point in a straight line.
- Radial gradient: Shades from the starting point to the ending point in a circular pattern.
- Angle gradient: Shades in a counterclockwise sweep around the starting point.
- Reflected gradient: Shades using symmetric linear gradients on either side of the starting point.
- Diamond gradient: Shades from the starting point outward in a diamond pattern. The ending point defines one corner of the diamond.
Which one to use is a matter of taste more than anything.
So now that you know what gradients there are, let’s take a look at how to create gradients in Photoshop next.
Don't Try One, Try Three
Freelance Photo Editors
Try editing from 3 professional photo editors. Screened and ready-to-hire.
How to Create Gradients in Photoshop (7 Simple Steps)
To get started creating a gradient effect for your images in Photoshop, you can either watch the video or continue reading the text below:
Step 1. To add a gradient background, you first need to create a New Layer.
Step 2. Then, go to the Gradient Tool. And in the upper left corner, you can see a lot of premade Gradient Sets. But for now, let’s just use the Basic Gradient Set, and manually adjust the color according to your preference.
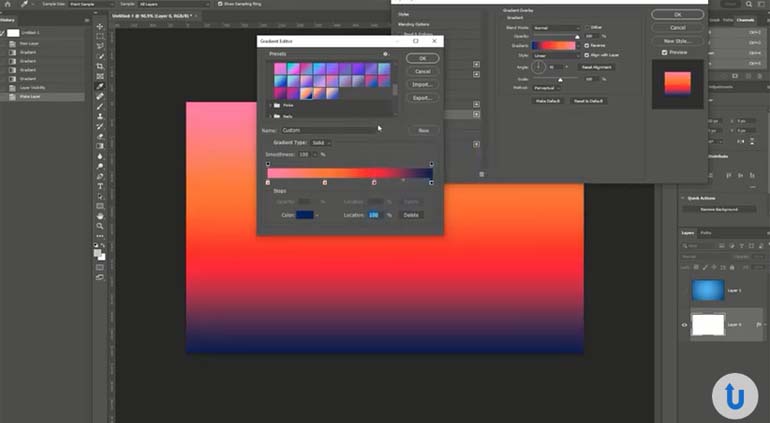
Step 3. Next, click the Gradient Editor and change the color stops to your preferred color.
Step 4. Then, apply the Gradient Effect by clicking on the area of your starting point and dragging it to where it ends. If you don’t like the current gradient, you can reverse the effect by checking the Reverse Option at the top.
Step 5. There are many Gradient Styles to choose from, and for this example, I’ll use the Radial Gradient. You can reverse the effect later if you want.
Step 6. Additionally, you can use different gradient methods by using Gradient Overlay located in the Layer Style button and directly changing the effect using this method. Also, you can change the color to basic or you can change it to 3 or 4 different colors if you want.
Step 7. Lastly, change the color to your preference and then reverse the effect or change the gradient style. Further, you can also change the Gradient Scale.
How to Create a Gradient Sky: Real Estate Photo Editing
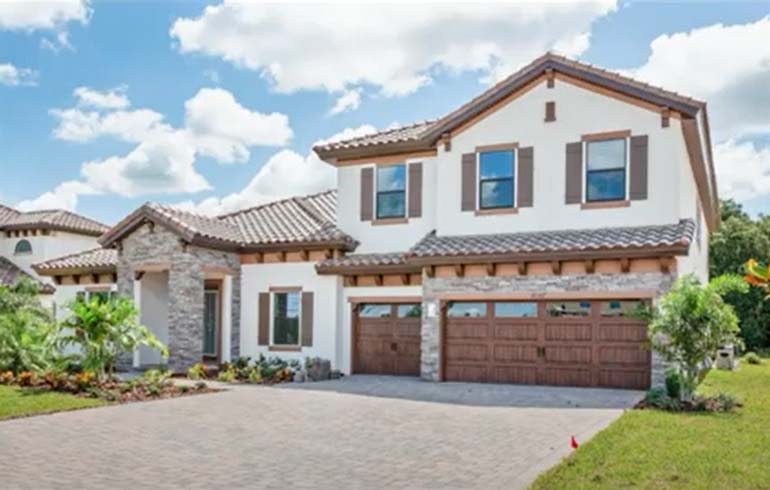
Now, let’s do some real estate photo editing and use the Gradient Tool on this image to create a natural-looking sky.

Step 1. OK, let’s begin by replacing the sky using a sky replacement process. For more details, you can check out how to do a sky replacement in Photoshop.
Step 2. To make the sky look more natural, apply some gradient effect using the Gradient Tool at the top of the Sky Layer.
Step 3. Then, by using the Gradient Tool, apply the gradient effect and make sure to change the Gradient Color to white. Also, change the other end of your Gradient Tool to Transparent to avoid a solid effect.
Step 4. You can also change the transparent effect through the Basic Preset from our Gradient Editor.
Step 5. Now, apply the gradient effect to create a natural gradient sky. And adjust the gradient accordingly, so you can get the desired effect.
Step 6. Finally, you can adjust the Sky Layer as well, so both the sky and the Gradient Layer fit together.
And that’s it!
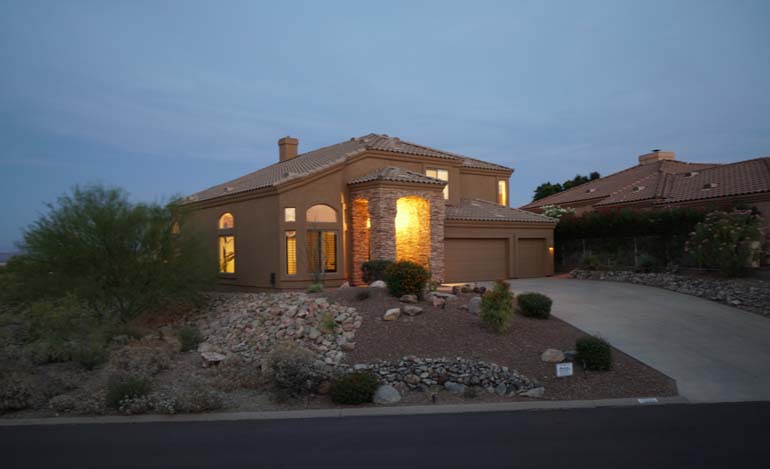
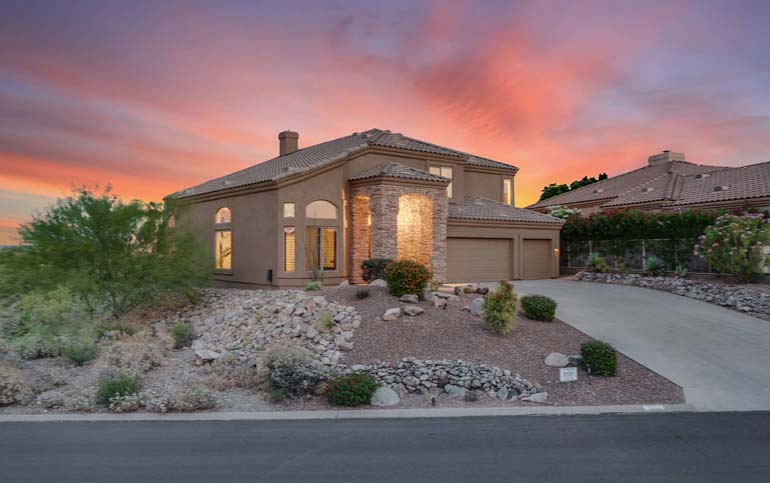
We have now created a sky with a natural gradient effect. Check the Before and After Previews to see the difference.

High-Quality & Consistent
Real Estate Photo Editing
Hire a dedicated editor with performance metrics from $7/hour.
Let the Experts Edit Your Real Estate Photography


If you want to provide your clients with outstanding real estate photography, but don’t have the time or expertise to learn Photoshop yourself, PhotoUp’s professional editors can do it for you.
Browse Top Dedicated
Real Estate Photo Editors
Ready-to-hire editors for real estate photo editing, and more.
As a leading global real estate marketing company, PhotoUp offers a full range of real estate photo editing services and additional services such as:
- Virtual staging
- Single property websites
- Custom websites
- Video editing
- Floor plans
- Property flyers
- Virtual assistants
- And more.
All you need to do is sign up for a free PhotoUp account, place your first order and your photographs will be delivered in less than 24 hours.
Best yet, our photo editing services are affordable and start at the low price of $1.50 per image. Discounts for larger bulk orders are also available.
PhotoUp Real Estate Photo Editing Uploader Demo
To see how easy it is to get started, check out our real estate photo editing uploader tutorial:
As simple as that!
Get started with PhotoUp today, and create the kind of real estate photos that lead to valuable sales and returning customers. Did we mention that you get 10 free edits when you sign up?!
We hope this blog post helped you learn how to create gradients in Photoshop. If you found this post useful, you may also want to check out the following resources:


