Table of Contents
- When Is Centering an Image in Photoshop Useful?
- How to Easily Center an Image in Photoshop
- Let PhotoUp Help You With Real Estate Photo Editing
Do you want to learn how to center an image in Photoshop? Then, we got your back!
Capturing the perfect real estate photo often requires a keen eye for detail and a touch of post-processing magic. One of the fundamental skills in any photographer’s post-processing toolkit, especially in real estate photography, is the ability to center images precisely.
Whether it’s for creating a balanced portfolio or ensuring property photos look their best in listings, mastering this simple task in Photoshop can significantly impact your final image.
In this guide, we’ll show you how to easily center an image in Photoshop to create balanced visuals.
Let’s start by taking a look at when centering an image in Photoshop is useful.
When Is Centering an Image in Photoshop Useful?
Centering an image in Photoshop is a task with broad applicability that is indispensable across various scenarios, particularly in real estate photography.
It’s called for when creating symmetrical compositions to enhance visual appeal, in batch processing for consistent presentation in online listings, or when designing promotional materials where image alignment is crucial for a professional outcome.
For real estate photographers, centering becomes essential when compiling portfolio photos to ensure each property is showcased at its best, standing out to potential buyers in a competitive marketplace.
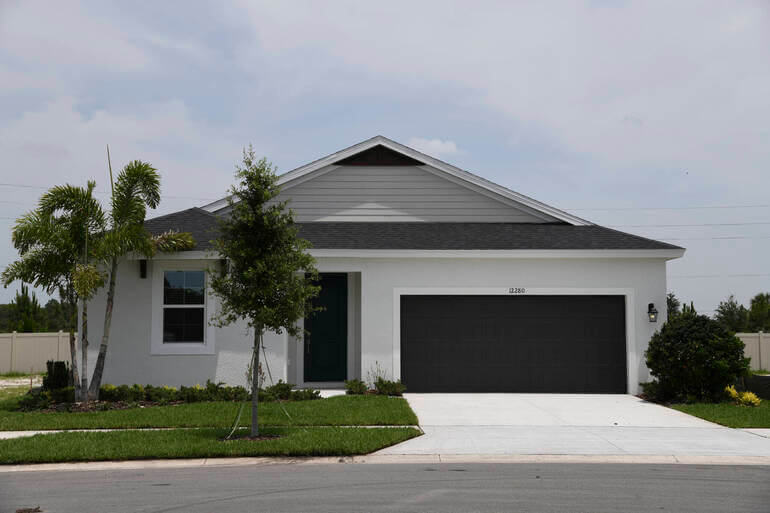
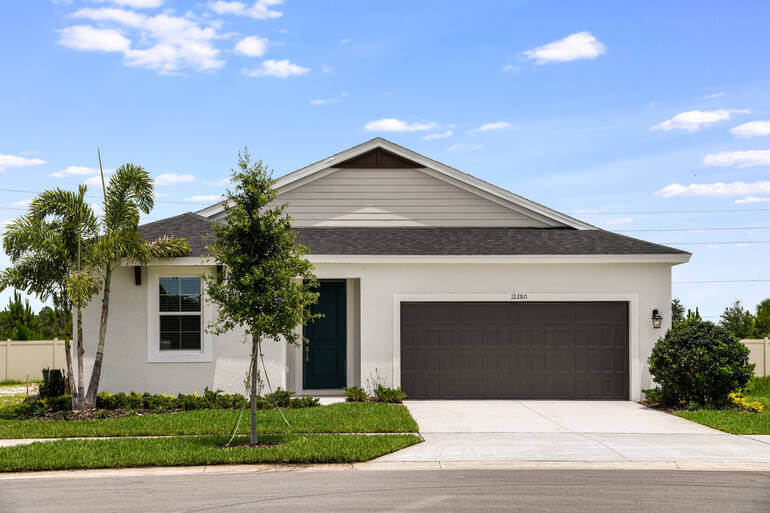
This skill, while seemingly minor, can significantly elevate the perceived quality of your work, making it an invaluable part of your digital editing repertoire.
How to Quickly & Easily Center an Image in Photoshop
With that being said, here’s a step-by-step tutorial on how to easily center an image in Photoshop.
You can either watch the video or read the text below:
Step 1. To get started, Select the entire canvas. Press Ctrl + A on Windows or Cmd + A on Mac on your keyboard. This will create a selection around the entire canvas.
Step 2. To align the image horizontally, go to the Menu bar and click on Layer. Hover over Align Layers to Selection and select Horizontal Centers.
Step 3. To align the image vertically, go to the Menu bar and click Layer again. Hover over Align Layers to Selection and select Vertical Centers.
Step 4. To deselect the selection, press Ctrl + D for Windows and Cmd + D for Mac on your keyboard.
Step 5. To save your centered image, go to the Menu bar and click on File > Save As. Next, choose your preferred file format, e.g. JPG or PNG, and select the location where you want to save your file. Lastly, click on Save.
And that’s it! You’ve now learned how to easily center an image in Photoshop.
With these steps, you can quickly center your images for a more professional presentation. Remember, practice makes perfect!
The Ultimate All-in-One
Real Estate Photographer Business Platform
Grow a successful real estate photography business with PhotoUp.
Let PhotoUp Help You With Real Estate Photo Editing
When it comes to creating stunning images, quality truly makes a difference. Did you know that 72.2% of Realtors believe high-quality photography helps them win more listings?
And that’s not all! Homes with impressive listing photos can fetch a whopping 47% higher asking prices per square foot. Amazing, right?
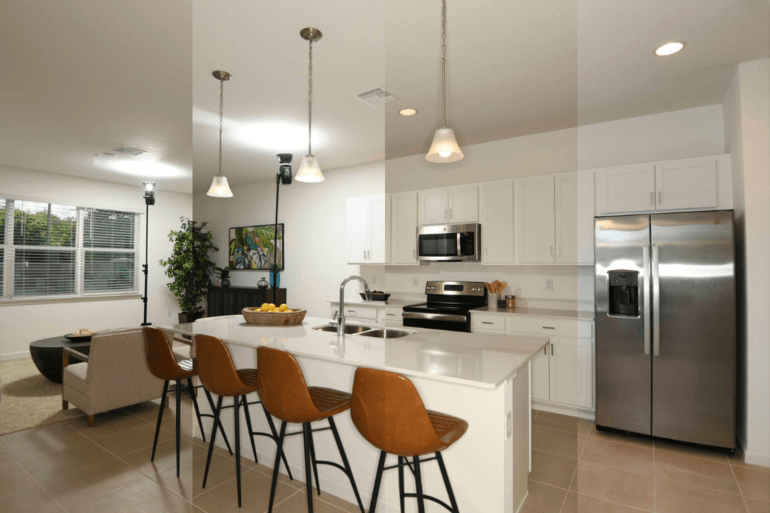
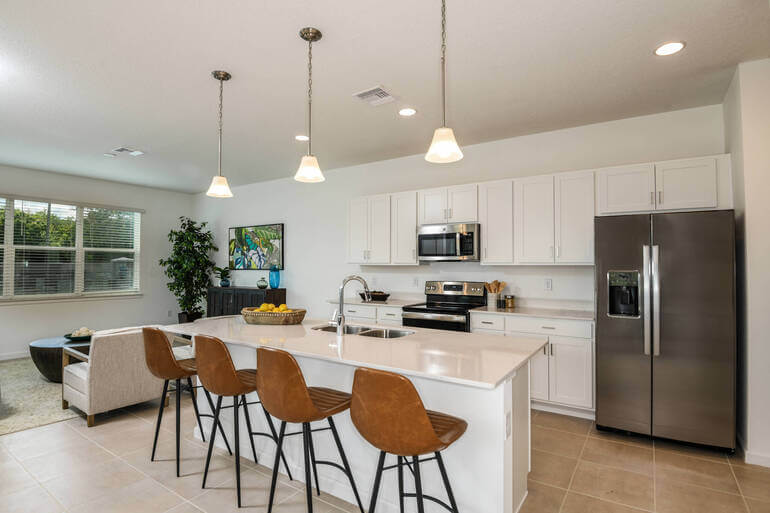
That’s why outsourcing your post-processing to a professional real estate photo editing service like PhotoUp can be a game-changer.
Based in the US with additional offices in the Philippines, PhotoUp offers a full range of services to cater to all your photo editing needs, including:
- Brightness and color correction
- Vertical lines adjustments
- Advanced object removal
- Day-to-dusk conversion and Twilight editing
- Lawn greening and sky replacements
- HDR editing
- Manual blending
- Flambient editing
- And much more!
Browse Top Dedicated
Real Estate Photo Editors
Ready-to-hire editors for real estate photo editing, and more.
But that’s not all…
A One-Stop-Shop for Real Estate Marketing
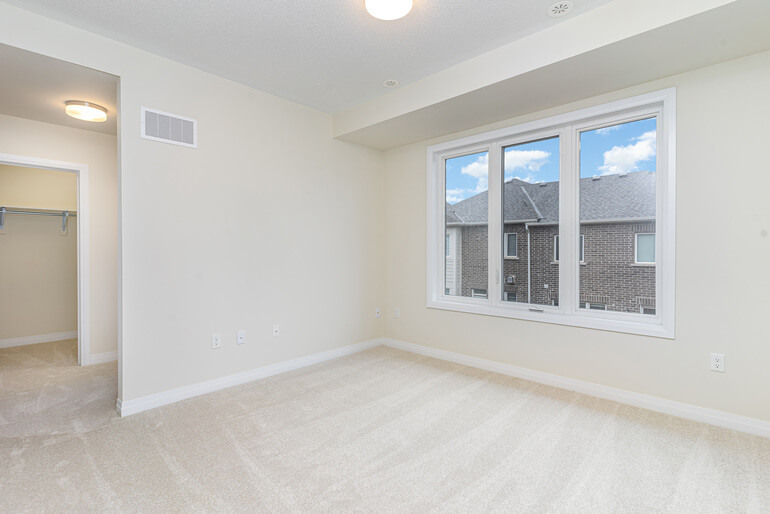
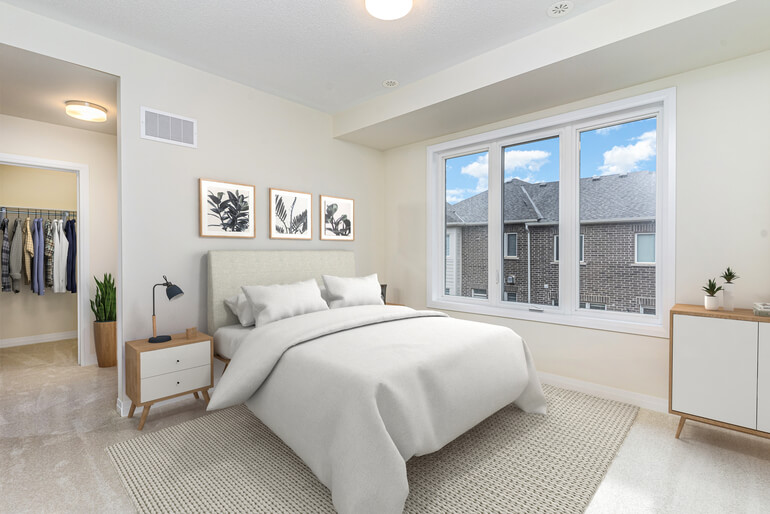
PhotoUp is a complete one-stop-shop for real estate marketing and also offers additional services such as:
- Virtual staging
- Virtual house tours
- Home walk-through videos
- Custom websites
- Single property websites
- Property flyers
- House portraits
- Floor plans
- And Virtual Assistants
Trust us, PhotoUp is the ideal choice to bring your real estate photos to life!
How to Get Started
Getting started with PhotoUp is super easy.
When signing up for a free PhotoUp account, you’ll get access to our user-friendly software where you can upload and receive photos, send instructions, and give feedback. As well as track and manage team members and clients, store final images, and more!
PhotoUp Real Estate Photo Editing Uploader Demo
To see how easy it is to get started, have a look at our real estate photo editing uploader demo:
It’s really as easy as 1-2-3!
So what are you waiting for? Sign up for a free PhotoUp account today and let our expert real estate photo editors help you edit your property photos to perfection.
And the best part? When you sign up for an account, you’ll receive a bonus of 10 free credits to use however you please!
We hope this blog post helped you learn how to center an image in Photoshop. Before you go, you may also want to check out the following resources:


