Table of Contents
- Why Is Brightness Important for Real Estate Photography?
- Brightness Is the Key to Top-Quality Photos
- How to Brighten a Photo in Photoshop (2 Simple Ways)
- Let PhotoUp Take Care of Your Real Estate Photo Editing Needs!
Do you want to learn how to quickly and easily brighten a photo in Photoshop and transform your dark, dull images into bright and eye-catching ones?
When it comes to real estate photography, brightness is critical for bringing out the colors and creating a vibrant atmosphere. Think about it, who wants to see a gloomy, dark living room in a property listing?
By adjusting the brightness, you can make the colors pop and entice potential buyers to take a closer look. In this mini tutorial, we’ll show you how to brighten a photo in Photoshop using 2 simple techniques.
Before we jump into the nitty gritty, let’s first talk about why brightness is crucial to produce eye-catching real estate photos.
Why Is Brightness Important for Real Estate Photography?
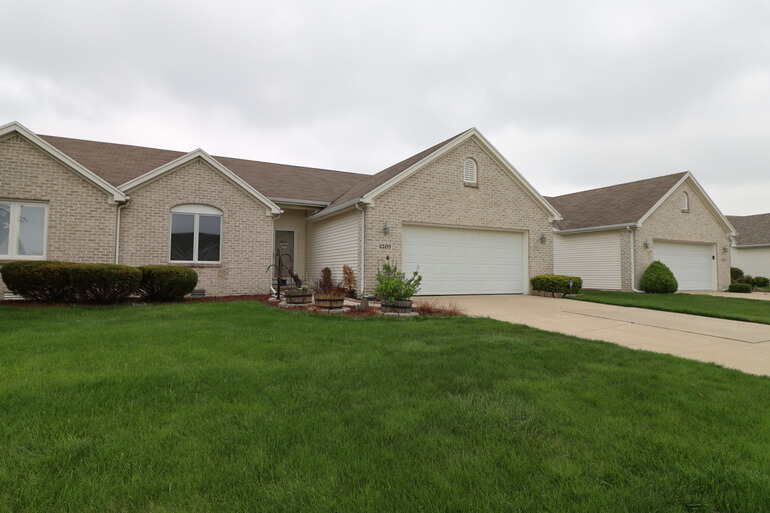
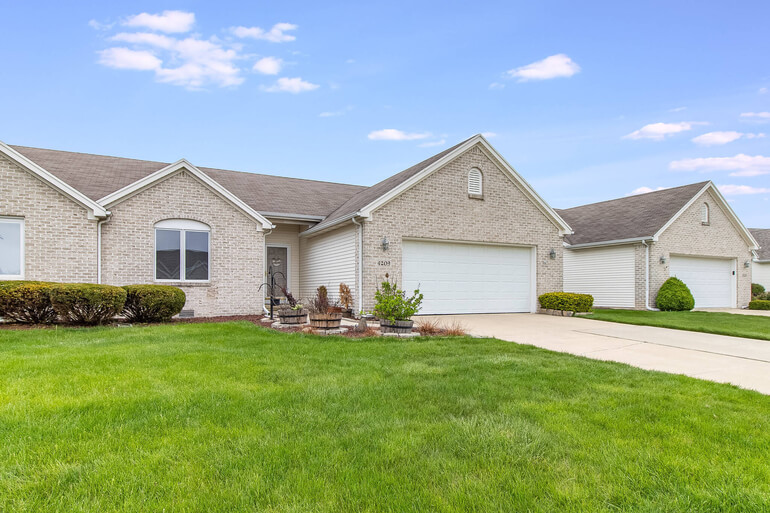
When someone says a picture speaks a thousand words, the photo’s elements do much of the talking. While memories captured bring forth life within the photo, stories, and emotions surround its context.
But in the realm of real estate listings, it takes more than a raw image to tell the complete story. In fact, the image’s value is in the colors, angles, and effects added through photo editing.
The secret to nailing this? Well, it’s all about adjusting brightness in real estate photos.
As real estate listings go digital, the need for stellar photos only grows. According to the National Association of Realtors® (NAR), 51% of buyers found their dream property online.
People expect to see high-quality real estate photography on any listing, and that’s one reason why the editing scene has played such a crucial role in recent times.
Brightness Is the Key to Top-Quality Photos
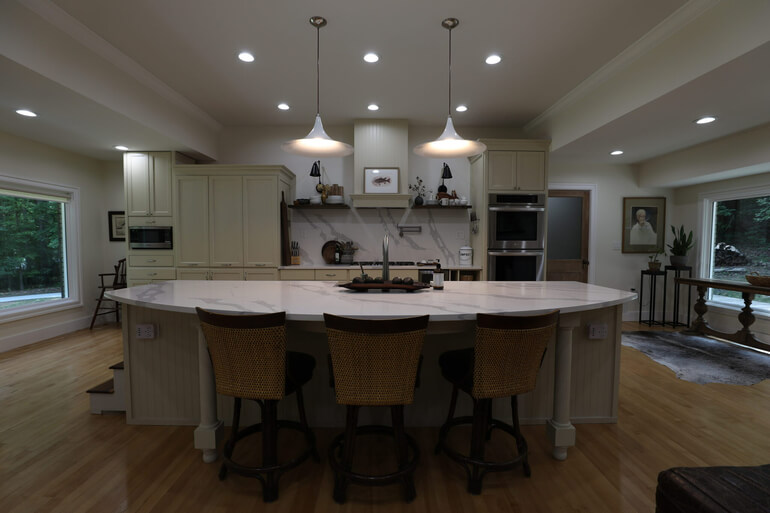
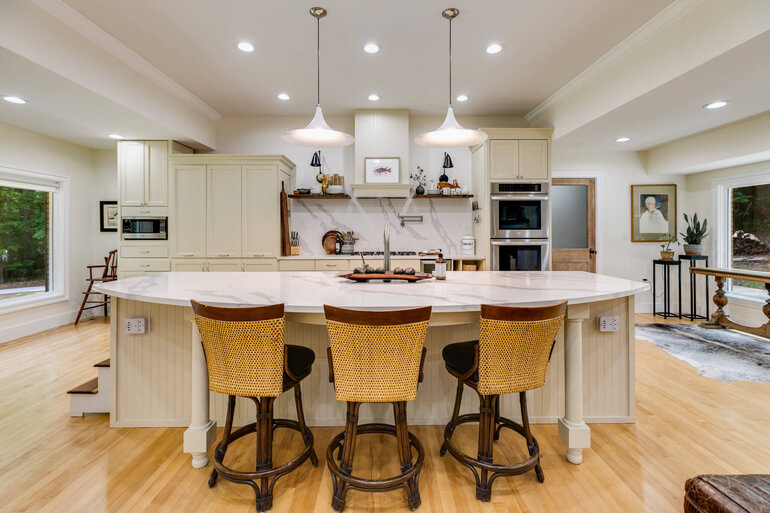
Eye-catching real estate photos start with perfect brightness.
It may seem like a minor edit, but adjusting the brightness is one of the simplest yet most important steps to producing top-quality images.
Colors are also essential to consider – warm tones elicit emotions and connections, while cooler tones provide a sense of calm.
Knowing how to bring out the right colors through brightness adjustments is key to making a property look its best and appealing to as many buyers as possible.
Whether you’re dealing with indoor or outdoor shots, don’t underestimate the power of brightness to showcase a property’s unique beauty.
High-Quality & Consistent
Real Estate Photo Editing
Hire a dedicated editor with performance metrics from $7/hour.
How to Brighten a Photo in Photoshop (2 Simple Ways)
With this in mind, let’s show you how to quickly brighten a photo in Photoshop using 2 simple ways. You can either watch the video or continue reading the text below:
Brighten a Photo in Photoshop – Technique 1
Step 1. In this example, we have opened a fairly dark image in Photoshop, and we’ll show you two ways you can brighten this photo. First, let’s Duplicate the Layer.
Step 2. Next, Open Camera Raw by pressing down Command, Shift and A on the keyboard or Ctrl + Shift + A if you are on a Windows computer.
Step 3. You can now adjust the exposure of the image by bumping up the Exposure and Shadow Slider. Try not to end up with a blown out photo and click OK.
And that’s one way you can brighten a photo!
If you want more control over specific parts of the image, you can use adjustment layers.
Brighten a Photo in Photoshop – Technique 2
Step 1. Let’s Remove the Prior Layer and Duplicate the Original Layer.
Step 2. Under the Adjustments Panel, click on the Brightness/Contrast icon. This will create an Adjustment Layer.
Step 3. Now, in Properties, you can then adjust the brightness. Click on the Layer Mask and hold down Command I on your keyboard or Ctrl + I on Windows.
Step 3. Next, click on the Brush Tool and make sure White is set as a Foreground Color. We like to set the Hardness to 0% and tone down the Opacity and Flow of the brush.
Step 4. Brush Over the dark areas of the photo. This will help create a more balanced exposure throughout your image.
So, those are the two ways you can quickly and easily brighten an image in Photoshop!

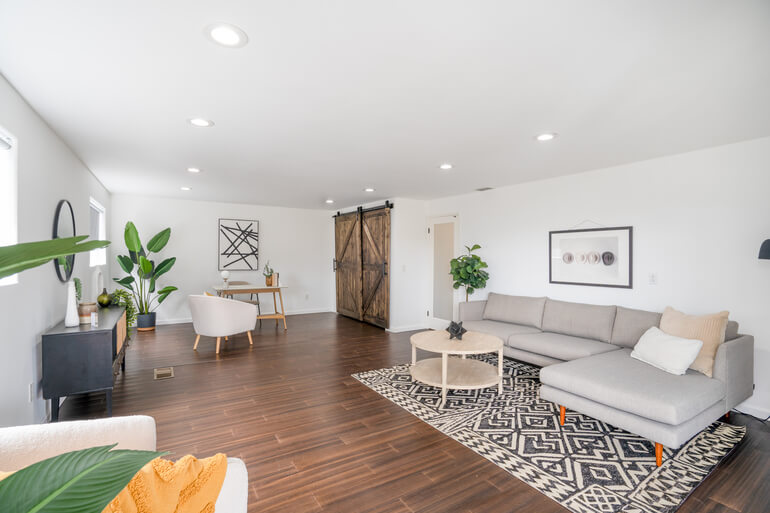
High-Quality & Consistent
Real Estate Photo Editing
Hire a dedicated editor with performance metrics from $7/hour.
Let PhotoUp Take Care of Your Real Estate Photo Editing Needs!
We all know how time-consuming the editing process can be… It often takes away hours in the day that you could spend on shooting more properties and growing your business.
So if you want to optimize your time, PhotoUp’s professional real estate editors can take care of the post-processing for you!
With over a decade in the industry and hundreds of editors in the Philippines, PhotoUp has all the expertise and tools needed to edit your images to perfection.
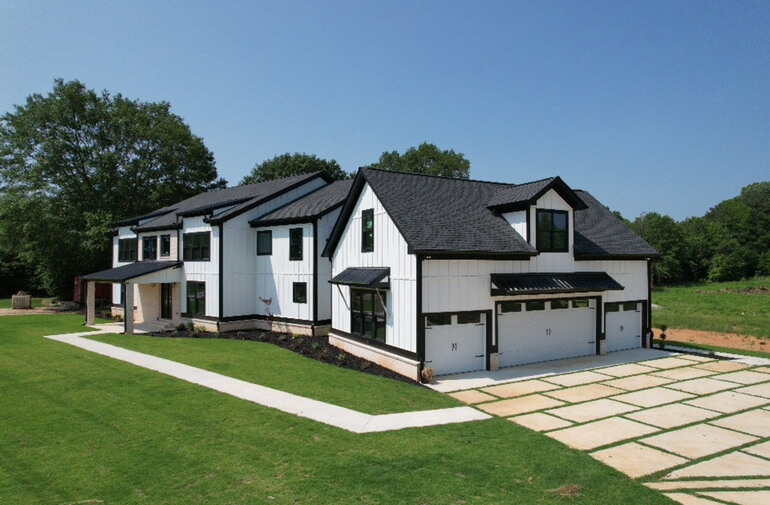
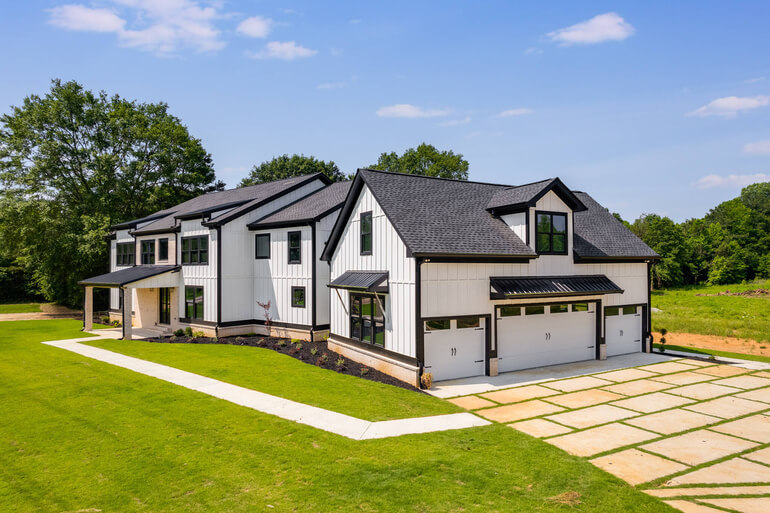
Our skilled photo editors can help with the following issues:
- Improper exposure levels
- Harsh shadows, lack of light, etc.
- Blurred images that were taken without a tripod
- Images that need cropping or other effects
- Lawn greening and sky replacements
- Twilight and day-to-dusk editing
- Manual blending and pano stitching
- Clutter and advanced object removal
- Line and angle corrections
- And much more!
Browse Top Dedicated
Real Estate Photo Editors
Ready-to-hire editors for real estate photo editing, and more.
Additionally, PhotoUp is a complete one-stop-shop for real estate marketing and also offers services such as:
- Virtual staging
- Virtual house tours
- Home walk-through videos
- Custom websites
- Single property websites
- Property flyers
- House portraits
- Floor plans
- And virtual assistants
Best of all, our real estate photo editing service is affordable, starting at the low cost of $1.10 per image depending on your subscription level.
All you need to do to get started is sign up for a free PhotoUp account, place your first order, and your photographs will be delivered back to you in less than 24 hours.
PhotoUp Real Estate Photo Editing Uploader Demo
To see how easy it is to get started with PhotoUp, check out our real estate photo editing uploader demo:
It’s really that easy to get beautifully edited photos!
Sign up for a free account today, and let PhotoUp take the real estate photo editing off your plate. For a limited time, you even get 10 free edits when signing up!
We hope this blog post helped you learn how to brighten a photo in Photoshop. If you found this post useful, you may also want to check out the following resources:


