


Table of Contents
- The Essence of Image Quality in Real Estate Photography
- How to Adjust Image Quality in Photoshop (4 Methods)
- Leverage Professional Real Estate Photo Editing
In a world where visual content reigns supreme, image quality is non-negotiable. As a real estate photographer or professional photographer, you understand the difference a perfectly edited image can make to your work.
However, mastering image quality adjustments can be complex, especially within powerful software like Adobe Photoshop.
This comprehensive guide will provide clear, actionable steps on how to adjust image quality in Photoshop for you to enhance your images, ensuring they captivate and impress.
The Essence of Image Quality in Real Estate Photography
72.2% of Realtors report that high-quality photography helps them win more listings, and 83% of buyers said pictures are very important in helping them choose which homes they will visit.
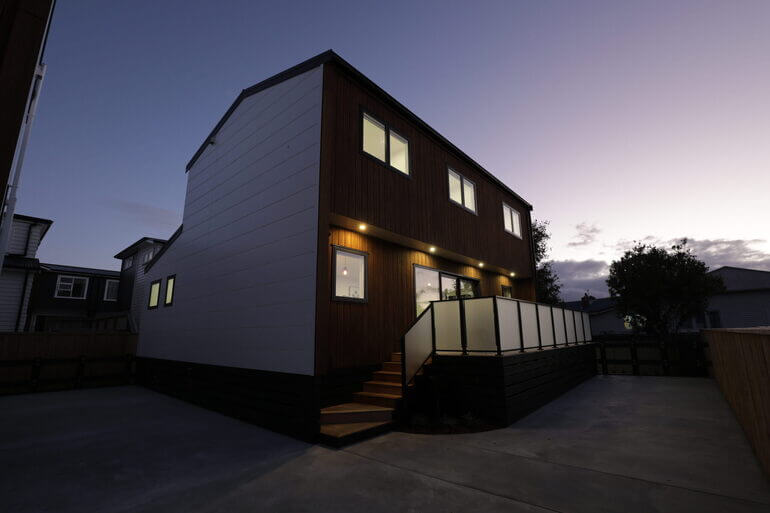
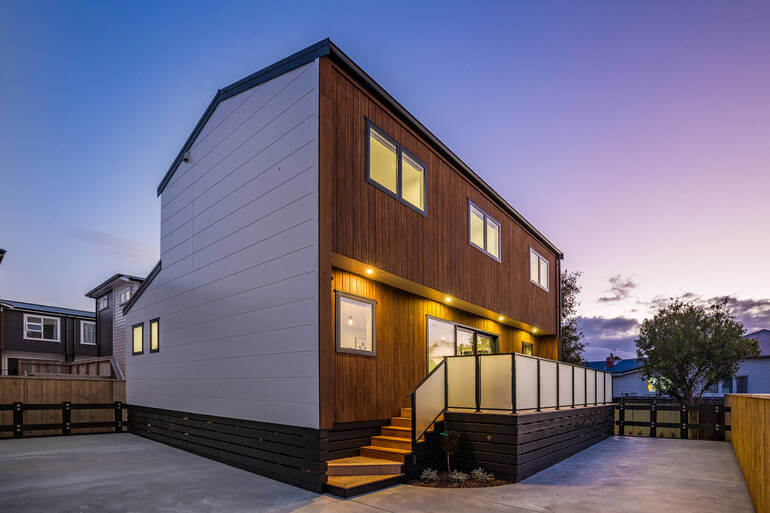
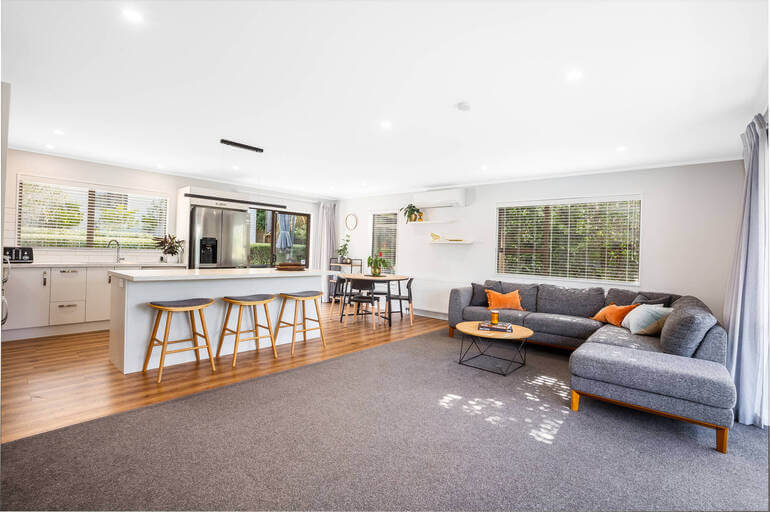
As real estate photographers, our work often speaks for us. Compelling, high-quality images not only show the property in its best light but also carry our signature style.
Whether it’s vibrant real estate photos or detailed fine art prints, your image quality can set you apart from the competition.
How to Adjust Image Quality in Photoshop (4 Methods)
Let’s delve into the intricacies of Photoshop image quality adjustments that will elevate your real estate photography using 4 image enhancement techniques. Note that you don’t have to use all of these. It all depends on what’s needed for your image.
You can either watch the video tutorials or continue reading the text below:
1. Adjust Image Size and Resolution
Step 1. To adjust the quality of an image in Photoshop, open the image you wish to enhance in Photoshop.
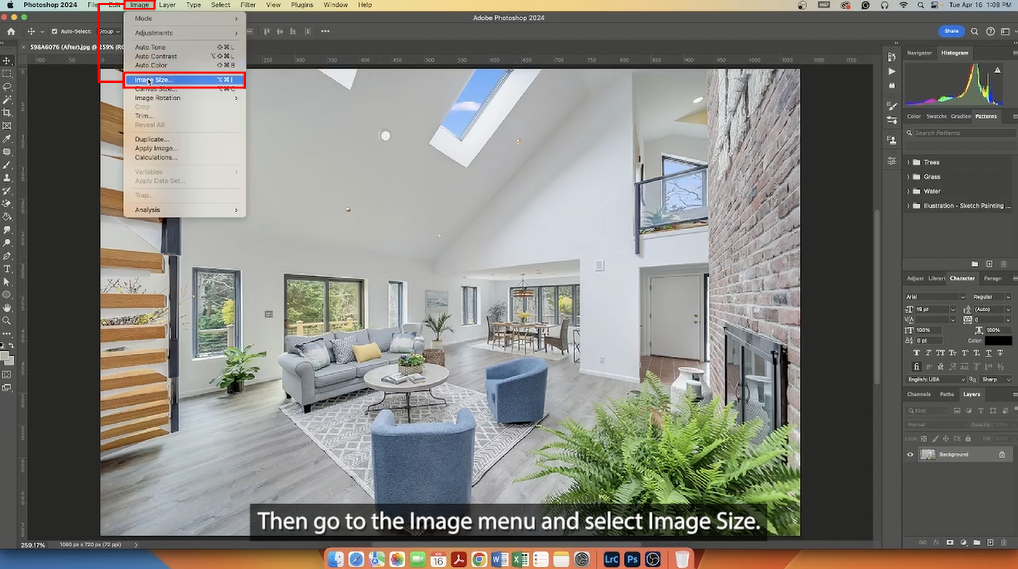
Step 2. Then, navigate to the Image menu and select Image > Image Size, and the Image Size window will pop up.
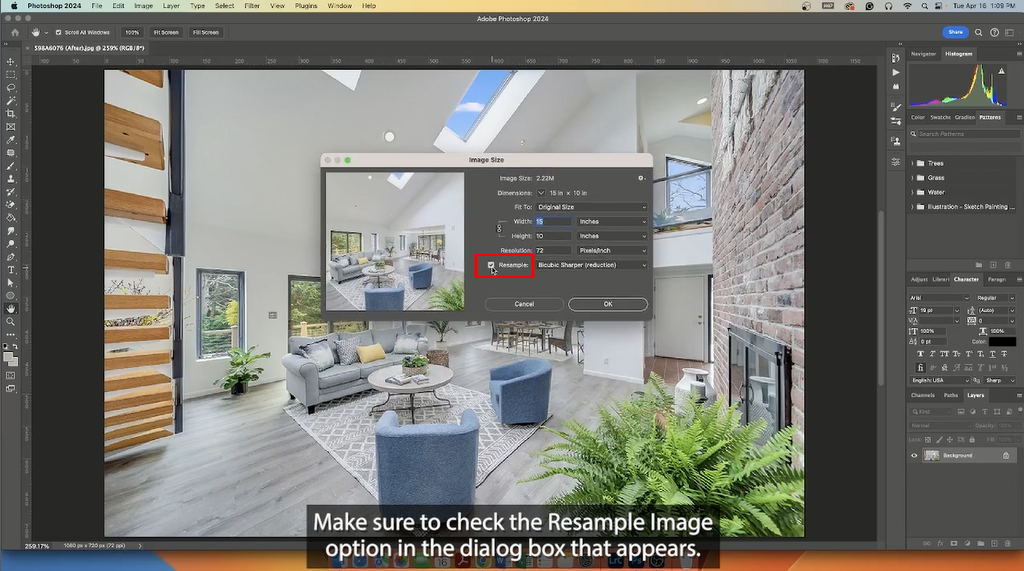
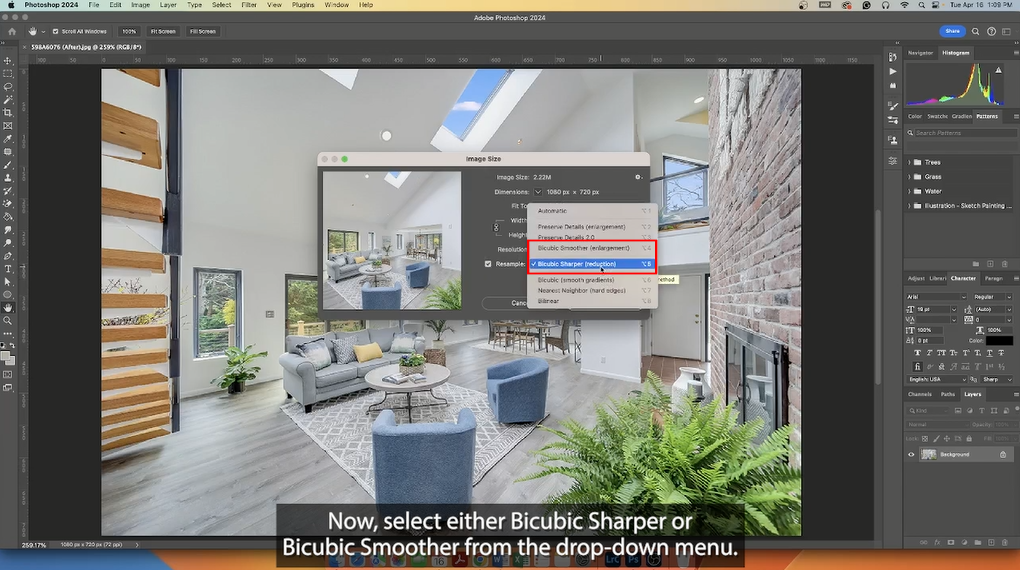
Step 3. Next, in the Image Size window, make sure to check the Resample image option.
Step 4. Now, select either Bicubic Sharper or Bicubic Smoother from the drop-down menu. These methods can help retain image quality during resizing.
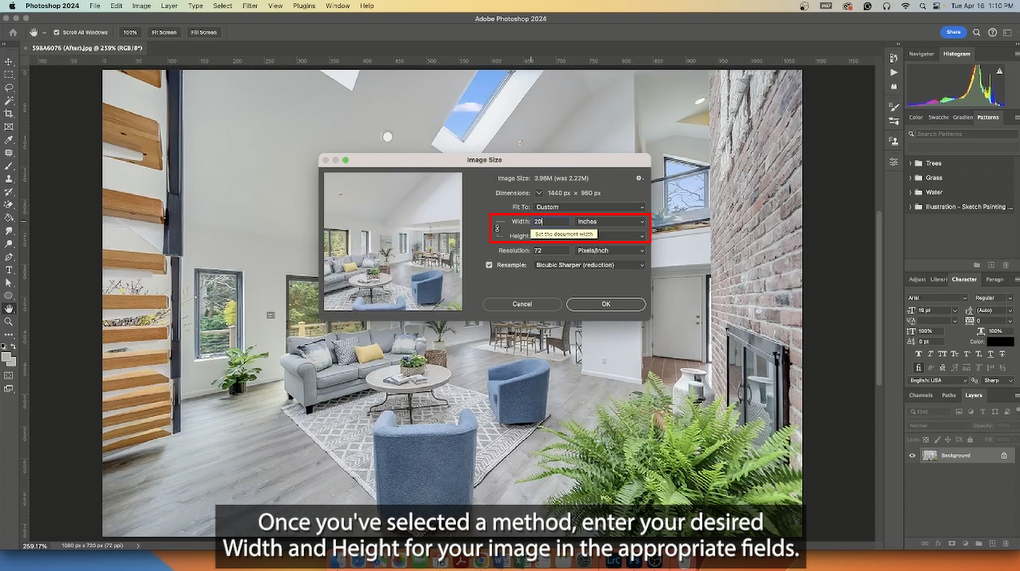
Step 5. Once you’ve selected a method, enter the desired Width and Height of your image in the appropriate fields.
Step 6. Now, ensure that your image has the correct resolution. You can set this in the Resolution field. Aim for 300 dpi for print, and 72 dpi is ideal for web.
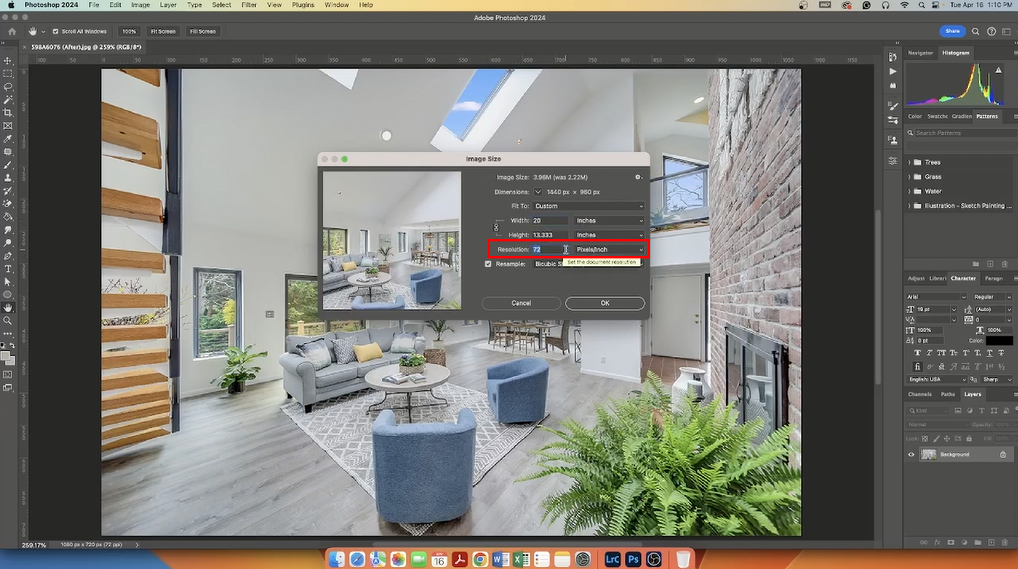
Step 7. Finally, click OK to apply your changes and enhance the quality of your image.
And that’s it!
High-Quality & Consistent
Real Estate Photo Editing
Hire a dedicated editor with performance metrics from $7/hour.

2. Adjust Brightness and Contrast
Altering brightness and contrast can immediately enhance the mood and clarity of your photo.
Follow these steps to make these vital adjustments:
- Select Brightness/Contrast: In the Adjustments window, click on Brightness/Contrast.
- Slide the Adjusters: You’ll see two sliders — adjust the brightness and contrast by sliding them left or right to see the impact on your image.
- Tweak to Perfection: Move the sliders gradually until you achieve the desired effect.
Note that over-processing can lead to loss of detail. Remember, subtlety often yields more natural-looking results.
For more details, check out our video tutorial on how to brighten a photo in Photoshop:
3. Reduce Noise in Your Images
Clarity is key to a high-quality image. Noise reduction and sharpening can help achieve this.
Let’s start by showing you how to reduce noise in your images:
- Select the Noise Filters: Photoshop has several noise-reducing filters. Go to Filter in the menu bar and select Noise, then choose Reduce Noise.
- Adjust the Sliders: Play with the sliders to reduce grain without losing detail.
To see how this is done, check out our video tutorial on how to reduce noise in Lightroom and Photoshop:
4. Sharpen Your Images
Let’s now move on to the sharpening feature in Photoshop:
- Choose the Sharpen Tool: From the toolbar, select the Sharpening Tool.
- Define Your Areas: Zoom into areas that need sharpening and brush over them to enhance detail.
Watch our tutorial video to see how to sharpen an image in Photoshop:
Both noise reduction and sharpening techniques require a gentle touch to avoid artificial-looking results.
Always save a copy of your original image before any adjustments to retain the flexibility to make further changes if necessary.
And that’s it! You’ve now learned how to adjust the image quality in Photoshop.
Remember, the effort you put into refining your image quality reflects your professional commitment to generating great real estate photography.
Have You Ever Thought To
Outsource Photo Editing?
Try it today with 10 free edits from three professional photo editors.
Leverage Professional Real Estate Photo Editing
If you want to take the tedious and time-consuming photo editing off your plate and ensure top-notch quality of your real estate photography, PhotoUp is happy to be your editing partner.
PhotoUp has more than 10 years of experience in the business and employs several hundred photo editors around the world, making it hard to match our quality, service, and pricing.
We have a team of highly talented real estate photo editors who can help with for example:
- Image brightness and exposure correction
- Color and tone adjustments
- Window masking and glare reduction
- Clutter and advanced object removal
- Line and angle corrections
- HDR editing and manual blending
- Harsh shadows and lack of light
- Sky replacements
- Twilight and day-to-dusk editing, etc.
Browse Top Dedicated
Real Estate Photo Editors
Ready-to-hire editors for real estate photo editing, and more.
But that’s not all…
A Complete Real Estate Marketing Platform
PhotoUp has everything you need for your real estate marketing needs on one platform and also offers additional services such as:
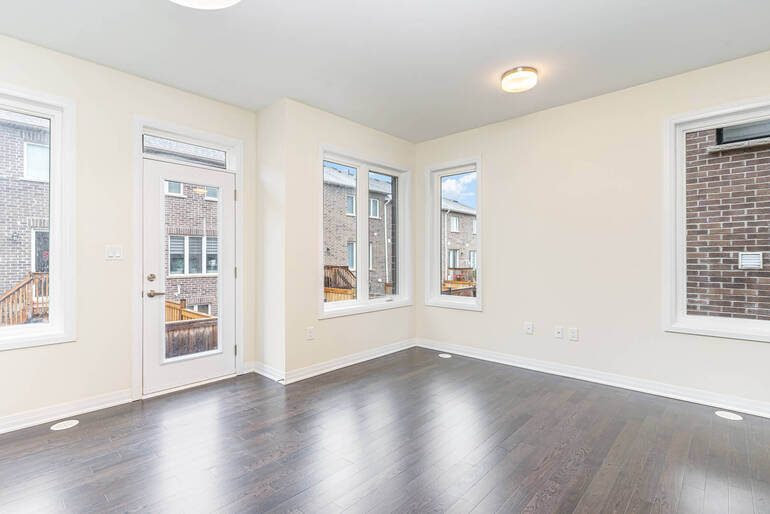
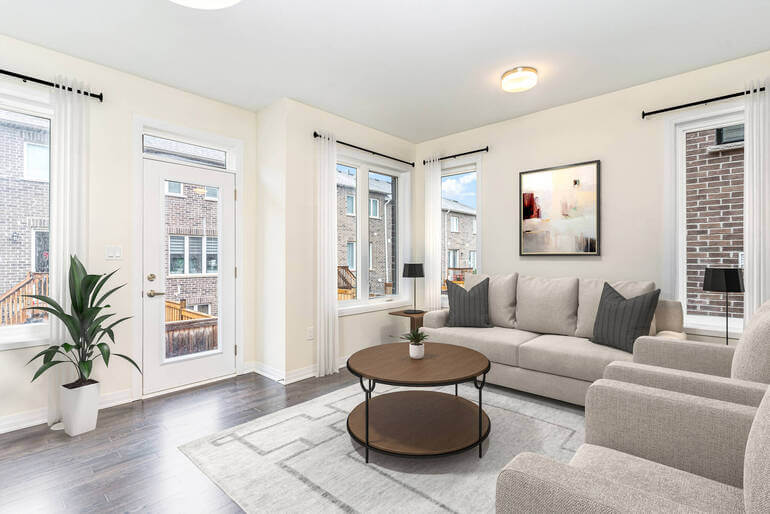
- Virtual staging
- Virtual house tours
- Video editing
- Real estate photographer websites
- Single property websites
- Floor plans
- Property flyers
- House portraits
- Virtual Assistants
- And more.
With our user-friendly software, you can upload and receive photos, and send instructions and feedback. Plus manage team members and clients, store final images, and more!
PhotoUp Real Estate Photo Editing Uploader Demo
Have a look at our real estate photo editing uploader demo to see how easy it is to get started with PhotoUp:
As simple as that!
Did we say that our photo editing starts at the low cost of $1.10 per image (depending on the subscription)?!
Plus, for a limited time, you even get 10 free edits when you sign up for a PhotoUp account!
That’s all for now!
We hope this blog post helped you learn how to adjust image quality in Photoshop. Before you go, you may also want to check out the following resources:

