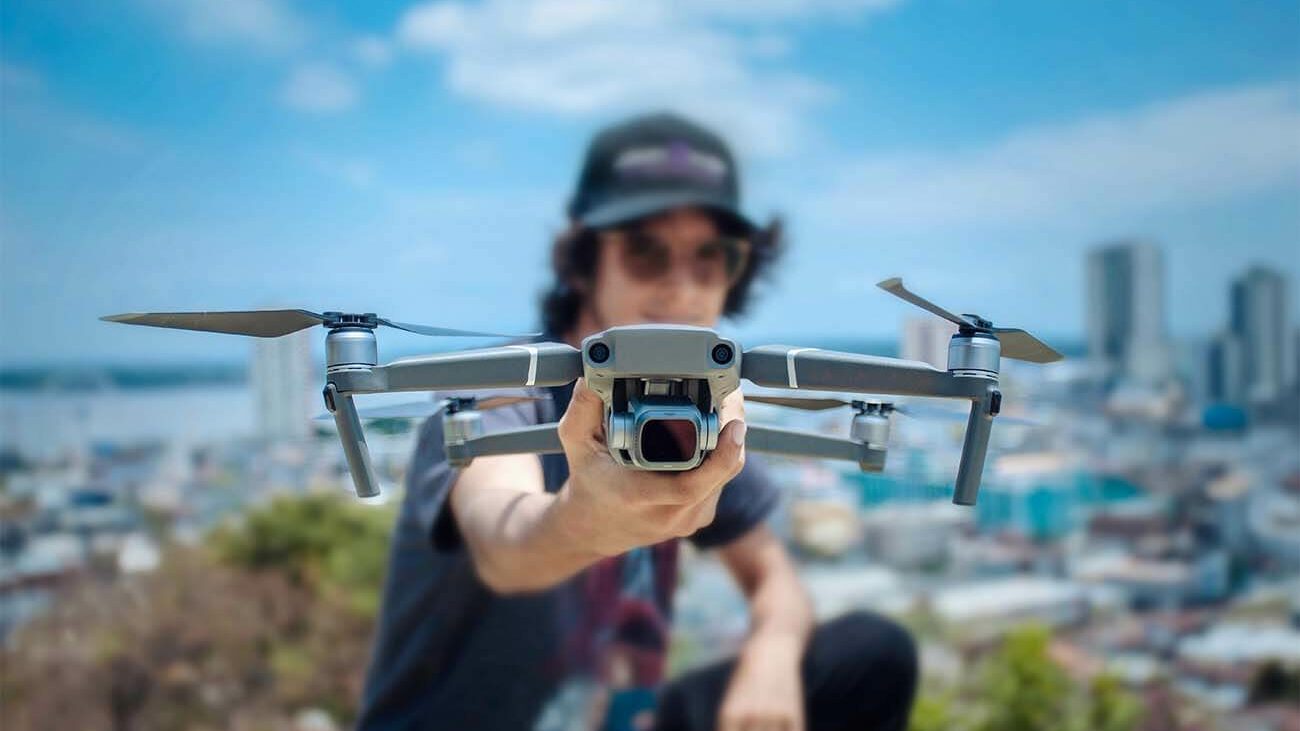
Originally, drones were intended for surveillance purposes in the military but fairly recently and with the introduction of compact action cameras, the US Federal Aviation Administration (FAA) has issued licenses and permits to use drones for commercial purposes.
Taking advantage of this opportunity, professional real estate photographers are now looking at the idea of using drones to take unique photos of homes, apartments, offices, and other properties.
Why should you consider using a drone in your real estate photography business?

- A drone provides you an encompassing overhead view of the entire property. You can have a vantage point higher than any ladder or tripod extension can provide. You will be able to move around areas that are otherwise difficult or even impossible to access.
- You will be able to take photos at an unusual angle. That will definitely set you apart from other real estate photographers in your market.
- In the past, photographers spent hundreds or thousands of dollars to rent helicopters or small aircraft so they could take overhead photos of real estate developments. The advent of drones made elevated photography affordable and accessible to everyone.
- Aerial photos and videos make an impressive aerial tour that will surely delight a potential property buyer.
- Having the ability to take aerial photos establishes your reputation as a creative, tech-driven, and innovative real estate photographer.
High-Quality & Consistent
Real Estate Photo Editing
Hire a dedicated editor with performance metrics from $7/hour.
These myriads of benefits should give you a good reason to buy a drone. So how do you take impressive overhead real estate photos using your brand-new photographer in the sky?
Here are some simple but practical tips:
1. Practice, practice, practice!
Flying an aircraft, even if it’s a remote control, is not like simply clicking the shutter of a digital camera. You need to master the controls, maneuver it skillfully, and ensure that you are flying the drone safely. We recommend spending a few weeks to familiarize yourself with the capabilities of your drone before you use it in your work.
2. Increase the altitude.
You might have come across real estate photography tips that recommend moving close to the property to emphasize details. While this is okay for “normal” photography, the opposite holds true for aerial photography. Shoot at a higher altitude to take stunning, encompassing overhead photos of the property.
3. Mount your camera on a gimbal.
Your drone’s camera moves a lot due to the wind, propeller vibration, and normal movement during flight. To keep it steady so it can take sharp photos, install your camera in a gimbal. A gimbal is a gravity-assisted pivoted support system that allows smooth and balanced movement cameras and lenses. In other words, a gimbal helps keep the camera steady when the drone is in action.
4. Check the weather.
This is especially important if you are flying a smaller drone. High winds and gusts can cause your drone to move a lot and be unable to hover steadily. Thus, it is best to shoot during windless days to ensure high-quality photos.
5. Make use of photo retouching software.
No matter how carefully you shoot, you can get rarely the aerial photo that you exactly want due to the drone camera’s limitations. Thus, you need to enhance the photos with PhotoShop, Enfuse, Lightroom, and other photo-editing software. Don’t feel guilty; even the best photographers use various photo-editing software to improve images.
Even if you don’t have the necessary skills to use this software, you don’t need to worry. There are photo editing experts like those at PhotoUp who can professionally touch up your photos.
With a drone, the sky’s the limit—literally—when taking photos of real estate properties. You now have a new tool in your arsenal that will identify you as a unique and creative photographer.


