Table of Contents
- What Is Ghosting?
- What Causes Ghosting?
- Best Way to Remove Ghosting From Trees in Photoshop
- Let PhotoUp Help You With Real Estate Photo Editing!
As real estate photographers, we frequently encounter blurs in the image, commonly referred to as image ghosting. It becomes necessary for us to clean up these blurs to maintain a crisp, clear view of the entire photo.
These blurs are often a result of the movement and shutter speed captured by our cameras. Hence, real estate photo editing is an essential process after every shoot, not only to enhance the beauty of the image but also to rectify any issues present.
In this guide, we’ll show you the best way to remove ghosting from trees to ensure that the final result is visually appealing and accurately represents the property being photographed.
But before we get into the nitty-gritty, let’s take a look at what ghosting really is.
What Is Ghosting?


Ever wondered why certain objects in real estate photos appear blurry or merge together, resembling a ghostly image?
This phenomenon, known as ghosting, derives its name from the translucent effect that creates a sense of ambiguity in the captured objects. It’s a fascinating effect that adds intrigue and depth to the final photograph.
However, let’s bust the myth right away – ghosting in photography has nothing to do with the supernatural!
What Causes Ghosting?
So, what actually causes ghosting? Ghosting can happen when shooting bracketed images for HDR photography.
It occurs when there is movement between the photos, causing a specific object to shift from its original position to a new one.
This movement results in a less defined and clear portrayal of the captured image. For instance, let’s say you capture some bracketed shots of a property and send them to a professional real estate HDR photo editing service.
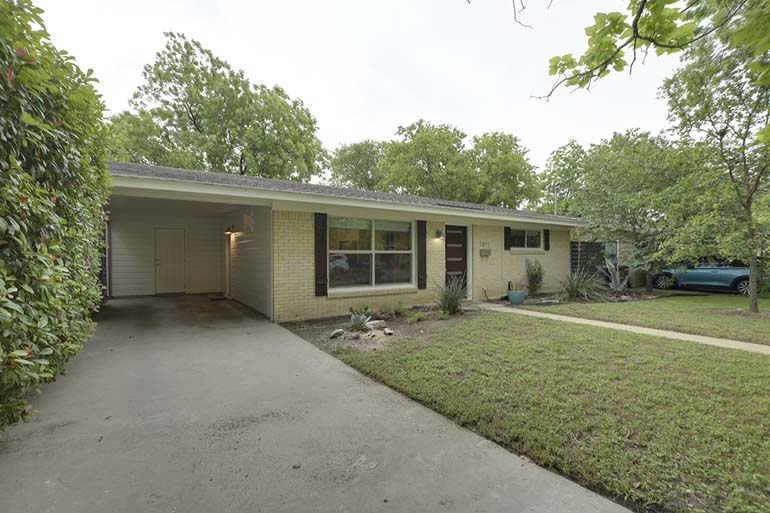
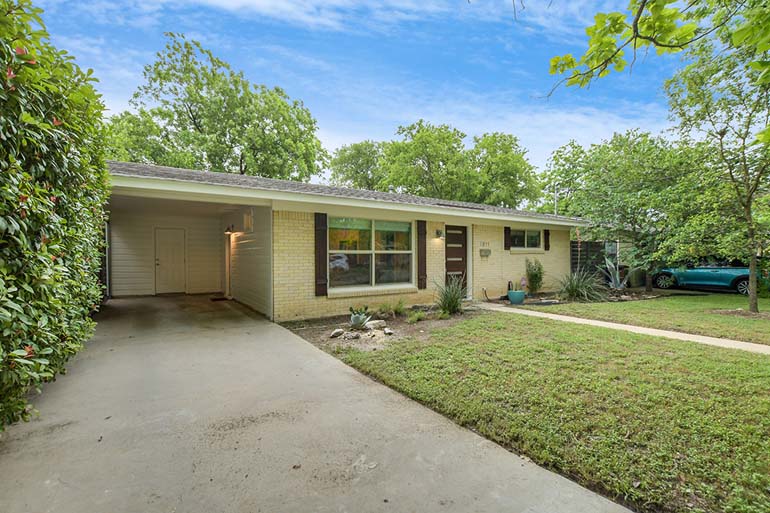
Upon receiving the photos, they might notice that the trees exhibit ghosting due to the wind causing the leaves to sway back and forth.
As a result, the different positions captured in the bracketed shots can lead to the presence of unclear objects.
What Are the Influencing Factors of Ghosting

Except for movement, there are other factors that can influence ghosting such as:
- Elements inside the lens
- Coating on the lens
- Lens aperture change can cause ghosting
Trying different lenses can be a good way to avoid ghosting.
In summary, understanding the concept of ghosting in real estate photography can help photographers and editing services ensure they capture and deliver crisp and captivating images.
Best Way to Remove Ghosting From Trees in Photoshop
That said, let’s now take a look at the best and easiest way to remove ghosting from trees in Lightroom and Photoshop. You can either watch the video or continue reading the text below:
Step 1. Start by opening up your image in Lightroom, and make sure that there are no lens corrections being applied to the image that are giving the ghosting effect.
Step 2. Then, go to the File Menu > Plug-in Extras > Blend Exposure using L/R Enfuse. In the custom pop-up box, select the Auto-Align tab, and check so the ‘Auto-align images before blending them’ checkbox is selected.
Step 3. Lastly, click Enfuse Images on the bottom right of the box. If that sorts out the problem, you’re done! And you can click on the Save button and move on.
Do This If the Ghosting Still Persists
If the ghosting effect still persists, you need to fix this in Photoshop. Let’s take a look at how to remove persistent ghosting in your images.
Step 1. Process the infused photo. Pick the middle exposure and then process it in the same way as the infused one. Don’t make any adjustments to the lens correction.
Step 2. Next, select the two photos and Edit them as Layers in Photoshop.
Step 3. Now, it’s time to mask the trees. Hold down the Options key and click the Add Layer Mask button in the Layers Panel. Set the infused photo as the base layer, and then add Inverted Masking to the top layer.
Step 4. After adding the inverted masking, you’re ready to start brushing the areas where the trees have the ghosting effect until you are satisfied with the result. Once you’re happy with the results, you click Save.
That’s all it takes to remove ghosting from real estate photos!
Let PhotoUp Help You With Real Estate Photo Editing!


If you’re an experienced Photoshop user, removing ghosting in your real estate photos isn’t a difficult task.
However, for those without any editing experience, it can be quite confusing. Many people end up dissatisfied with the results when they attempt it themselves.
Instead, consider outsourcing the job to a specialized online real estate photo editing service like PhotoUp.
Our team of expert real estate photo editors knows how to clean up ghosting and any other lens flares, giving your photos the attention they need to stand out to potential buyers.
Starting at the low cost of $1.10 per image, our skilled photo editors can help with the following issues:
- Improper exposure levels
- Harsh shadows, lack of light, etc.
- Blurred images shot without a tripod
- Images that need cropping or other effects
- Image correction and enhancement
- Color and tone adjustments
- Lawn greening and sky replacements
- Clutter and object removal
- Line and angle corrections
Browse Top Dedicated
Real Estate Photo Editors
Ready-to-hire editors for real estate photo editing, and more.
But that’s not all…
PhotoUp also offers other powerful real estate marketing services like:
- Virtual staging
- Virtual house tours
- Video editing
- Real Estate Photographer Websites
- Single property websites
- House portraits
- Property flyers
- Floor plans
- Virtual Assistants
- And much more!

How to Get Started
Getting started using PhotoUp’s real estate photo editing service is super easy.
All you need to do is sign up for a free PhotoUp account, upload your images, choose export setting and turnaround time, download your edited images, and that’s it!
PhotoUp Real Estate Photo Editing Demo
Check out our real estate photo editing uploader demo to see how easy it is to get started:
It’s really that easy to get help with editing your real estate photos!
So, don’t wait!
Get started with PhotoUp today and get your professionally edited photos back in less than 48 hours. Don’t waste your time struggling with photo edits – let PhotoUp take care of it for you!
And for a limited time, we even offer you 10 free edits when you sign up for an account to try our services out.
We hope this post showed you the best way to remove ghosting from trees in Lightroom and Photoshop. If you found this post useful, you may also want to check out the following resources:


